When it comes to photography, a cool thing is that a simple filter you place on your lens can turn a good shot into a masterpiece! So, I am going to explain the different types of camera filters, unveiling how these little tools can make a big impact.
The Main Types of Camera Filters
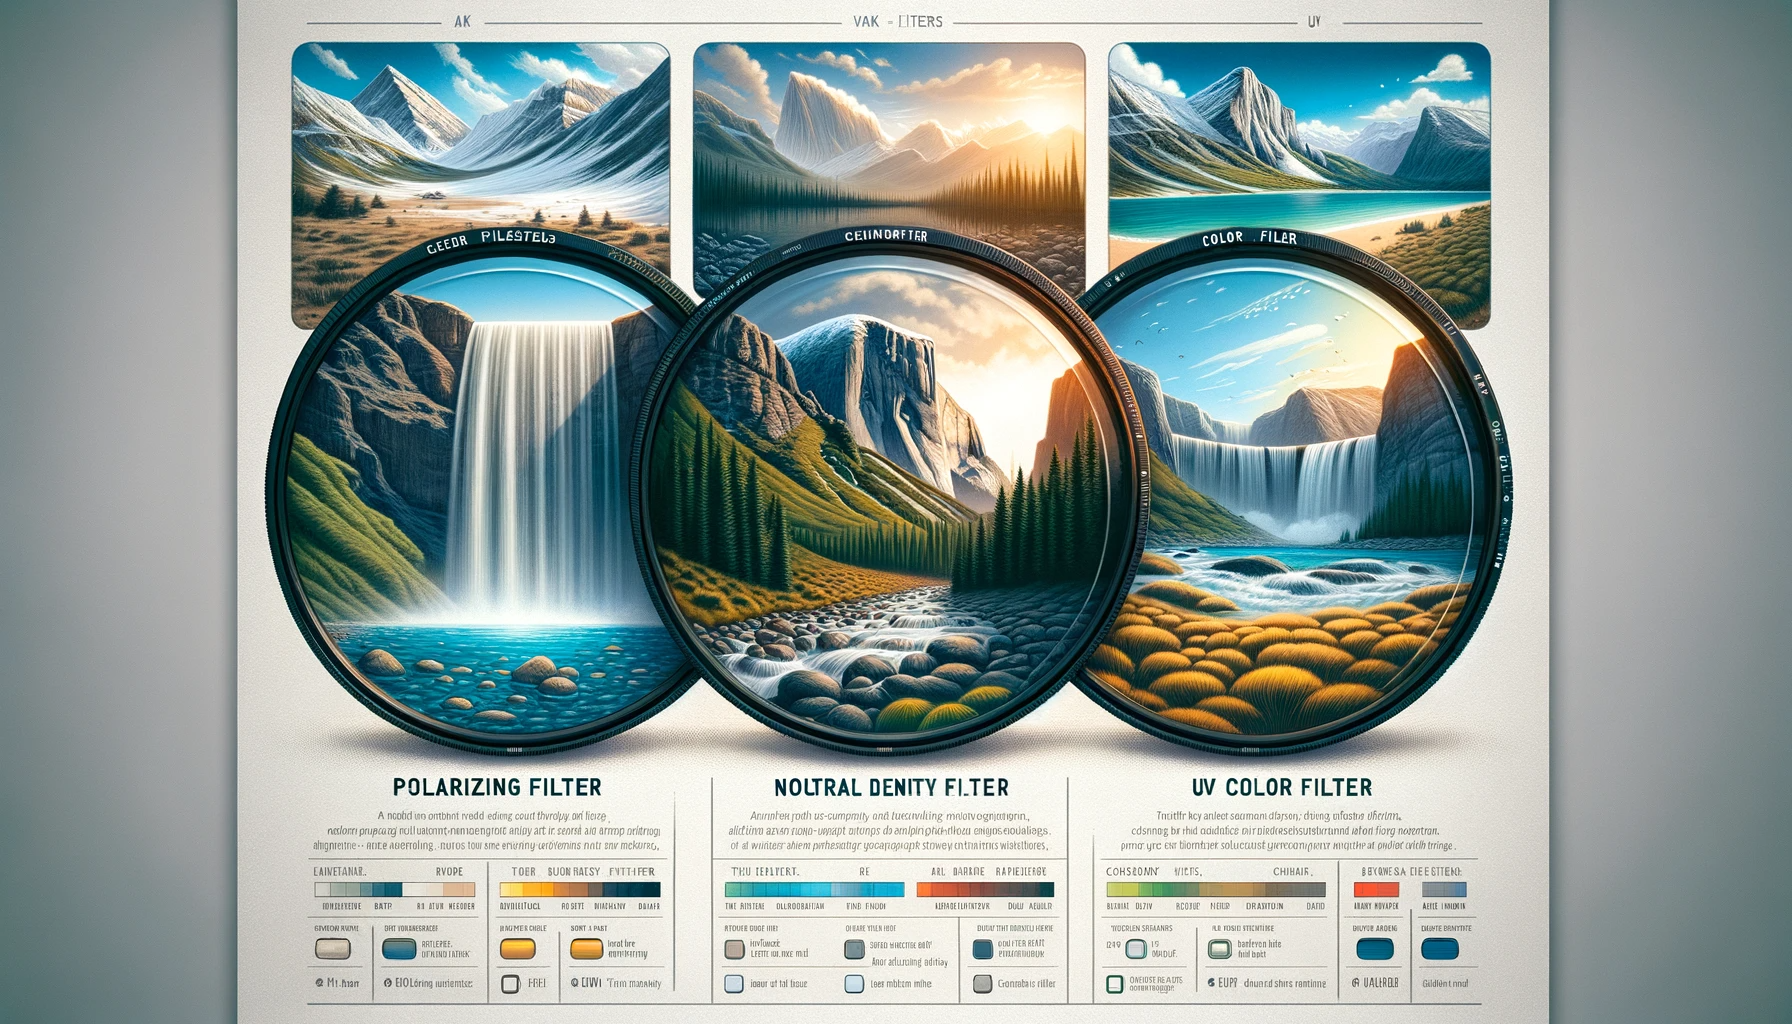
Right off the bat, here are the filters I will be covering: UV, Polarizing, Neutral Density (ND), Color, Close-Up, Diffusion, and Infrared Filters. Each type serves a unique purpose, from protecting your lens to creating surreal effects.
Camera filters are attachments that photographers place over the lens. They’ve evolved from simple light modifiers to complex tools that can protect your lens, reduce reflections, change colors, and even alter exposure times.
The primary reason I use camera filters is to enhance the quality of photos I am taking. This provides control over light and color, protect the lens, and can create artistic effects that are otherwise impossible to achieve in-camera.

Types of Camera Filters – Enhancing Your Photography Arsenal
UV Filters
UV filters serve a dual purpose in photography: they filter out ultraviolet rays, reducing haze and blue casts in images, particularly in bright landscapes.
Additionally, they act as a protective shield for camera lenses, guarding against scratches, dust, and moisture, thus ensuring the longevity and pristine condition of the lens.
Polarizing filters are like sunglasses for your camera. They’re fantastic at reducing glare from reflective surfaces, making them a favorite for photographing water, glass, and even the sky.
Polarizing filters are specialized photographic filters that can modify and reduce certain types of light reflections. They are often used to increase color saturation, reduce reflections from non-metallic surfaces, and enhance the contrast in images. There are two main types of polarizing filters:
- Linear Polarizers: These were more commonly used in the days of film cameras. However, they can interfere with the metering and autofocus systems of modern digital cameras.
- Circular Polarizers: These are designed to be used with digital cameras. They have the same polarizing layer as linear polarizers, but also include a quarter-wave plate that circularly polarizes the light, allowing modern camera metering and autofocus systems to function correctly.

How Do Polarizing Filters Work?
Polarizing filters work by filtering out certain light waves. When light reflects off surfaces, it can become polarized, meaning the light waves vibrate in a particular direction.
This is most noticeable when light reflects off water, glass, or other non-metallic surfaces, creating glare. Polarizing filters are designed to block these specific types of polarized light, reducing glare and reflections.
Benefits of Using Polarizing Filters
- Reducing Glare and Reflections: They are particularly effective at reducing the reflections from water, glass, and similar surfaces. This can reveal details and colors that would otherwise be obscured.
- Enhancing Colors: Polarizing filters can make the sky appear bluer, grass greener, and foliage more vibrant. They increase color saturation by reducing the glare that washes out colors in bright sunlight.
- Increasing Contrast: They can help to increase the contrast between the blue sky and white clouds, making for more dynamic and visually interesting skies in landscape photography.
When to Use a Polarizing Filter
- Landscape Photography: Great for making skies bluer and reducing reflections on water bodies.
- Water and Underwater Photography: Useful for cutting out reflections and seeing beneath the surface of water.
- Through Glass: When shooting through windows or glass enclosures, a polarizer can reduce reflections and increase clarity.
- Contrast in Blue Skies: Enhances the contrast between the blue sky and clouds.
Tips for Using Polarizing Filters
- Rotation Adjustments: By rotating the filter, you can adjust the level of polarization. This lets you choose how much reflection or glare you want to reduce.
- Effect Varies with Angle to Sun: The effect of a polarizing filter is strongest when the camera is pointed at a 90-degree angle to the sun.
- Check the Impact Through Viewfinder: Always check the impact of the filter through your camera’s viewfinder or LCD screen, as the effect can vary greatly.
- Watch Out for Wide-Angle Lenses: Be cautious when using a polarizing filter with a wide-angle lens, as it can lead to uneven sky tones due to the varying angles of light across a wide field of view.
- Reduction in Light: Remember that polarizing filters reduce the amount of light entering the lens, typically by about 1 to 2 stops, so adjustments in exposure may be necessary.
Neutral Density (ND) Filters
ND filters are your go-to for controlling light in bright conditions. They allow for longer exposure times by reducing the light entering the lens, making them perfect for capturing motion blur in waterfalls or crowds.
Neutral Density filters are designed to reduce the amount of light entering the lens without affecting the color of the image.
ND filters come in various strengths, typically measured in stops. Each stop represents a halving of the light entering the lens. For instance, a 1-stop ND filter reduces the light by 50%, a 2-stop by 75%, and so on.
Types of ND Filters
- Fixed ND Filters: These filters provide a set level of light reduction. They are labeled with their reduction capacity, like ND2, ND4, ND8, etc.
- Variable ND Filters: These are adjustable, allowing you to vary the degree of density by rotating the filter. They combine multiple ND filters into one, offering versatility but sometimes at the cost of image quality at extreme densities.
- Graduated ND Filters: These filters have a gradient from dark to light, useful for balancing exposure between a bright sky and a darker landscape.
Benefits of Using ND Filters
- Longer Exposure Times: ND filters allow for longer exposure times by reducing the amount of light entering the lens. This is particularly useful for creating blur motion effects like smooth waterfalls or ghostly moving crowds.
- Aperture Control: They enable the use of wide apertures in bright conditions, allowing for shallow depth of field without overexposing the image.
- Preventing Overexposure: In extremely bright conditions, ND filters can prevent overexposure when you want to maintain a specific shutter speed and aperture setting.
- Enhanced Video Quality: For videographers, ND filters help maintain a proper shutter speed to comply with the 180-degree rule, which keeps motion in video looking natural.
When to Use an ND Filter
- Capturing Water Motion: Ideal for photographing waterfalls, rivers, or oceans to create a smooth, milky effect in moving water.
- Reducing Depth of Field in Bright Light: Allows for the use of wider apertures to achieve shallow depth of field, even in bright conditions.
- Long Exposure Photography: Perfect for creating streaky cloud movements in the sky or capturing light trails at night.
- Daytime Time-Lapse Videos: Reduces the amount of light entering the lens, enabling the use of slower shutter speeds for smooth video capture.

Tips for Using ND Filters
- Determining the Right Density: Choose the ND filter based on the desired effect and lighting conditions. Higher density is needed in brighter light and for longer exposures.
- Use a Tripod: Long exposures can lead to camera shake, so it’s advisable to use a tripod when using ND filters.
- Manual Focus: Autofocus can struggle with ND filters due to reduced light. Switch to manual focus after framing your shot.
- Calculate Exposure Time: Use an app or chart to calculate the correct exposure time when using high-density ND filters.
Color Filters in Black and White Photography
Color filters might seem counterintuitive in black and white photography, but they’re pivotal in controlling how colors translate into shades of grey. For instance, a red filter can darken blues and greens, adding dramatic contrast to skies and foliage.
Close-Up Filters for Macro Photography
If you’re keen on macro photography but not ready to invest in a macro lens, close-up filters are a great alternative. They allow you to get closer to your subjects, magnifying minute details like the texture of a flower or the intricacies of an insect.

Diffusion Filters for Portraits
By subtly scattering light, these filters smooth out skin imperfections and impart a gentle, glowing effect, lending a touch of romance and dreaminess to the photograph.
This soft-focus technique is particularly favored for its flattering effect on facial features, enhancing the overall mood without sacrificing the subject’s natural details.
Diffusion filters are thus ideal for portrait photographers seeking to add a layer of artistic refinement and a timeless quality to their images, evoking a sense of elegance and subtle charm.
Infrared Filters for Surreal Images
Infrared filters offer a unique and creative approach to photography, allowing photographers to explore the unseen world of infrared light.
These filters block most of the visible light spectrum, permitting only infrared light to pass through to the camera sensor. This results in ethereal and surreal images, characterized by their dreamlike quality.
Landscapes photographed with infrared filters take on a distinctive appearance: foliage and grass reflect infrared light, turning them into bright whites, while skies and water, which absorb infrared light, appear dark and often dramatically contrasted. This creates a stark, otherworldly look that transforms ordinary scenes into something extraordinary and mystical.
Choosing the Right Filter for Your Photography Needs
Selecting the right filter involves considering your lens size, the quality of the filter, and the specific environmental conditions you’ll be shooting in. For beginners, it’s advisable to start with basic filters and gradually explore more specialized types as you develop your skills.
To Wrap Things Up…
Understanding the different types of camera filters is helpful for photographers looking to elevate their craft.
Whether you’re protecting your lens with a UV filter or capturing ethereal landscapes with an infrared filter, each type offers a unique way to enhance your images.
And please let me know in the comment section below if you have any questions!


I just had a read of your article on camera filters! As I am quite keen on photography (although on a very basic level), I found the explanations about different the filter types really helpful.
It is interesting how each filter can completely change a photo’s outcome. But I have 2 questions if you do not mind?
I wanted to ask, for someone like me just starting out, which filter would you recommend as the best to experiment with first? and also for taking photos outdoors, is there a filter for this you could suggest?
Thanks
Chris
Hello Chris! I am happy to hear that you are into photography as well and that you found this article helpful! To answer your question, I would recommend the polarized filter as it will help not only as a first filter to use but also works great on landscape photos. Thank you for your response!
Hi Randi
Your article is very comprehensive. You have covered a lot as far as filters are concerned. For a newbie your article will turn him/her into a pro. You have indicated what these filters do, when to use them and tips. Do you use these filters separately or you can i use them in combination. Can there be one filter that has a combined properties. As photographer who wants to get better which filter should be my first port of call and why.
Very interesting. Thank you for sharing
Richard
Thank you, Richard! To answer your question, the filters are typically used by themselves. The key is to find one that works for the shot you’re looking for. It’s the same thing with different types of lenses. I hope this helps! Thank you for your response!