Night photography is like unlocking a whole new dimension in your photography journey. The thrill of capturing the night’s magic can be both challenging and rewarding. Dark skies filled with stars, city lights illuminating streets, or the serene glow of a full moon can create stunning visuals that daylight just can’t offer.
But getting those perfect night shots isn’t just a matter of pointing and shooting. Mastering night photography requires understanding and patience. It’s not just about the technical know-how—it’s also about embracing the experience and seeing the world in a different light, literally.
Why bother mastering night photography, you ask? Well, for one, it pushes your creativity to new levels. The unique lighting conditions force you to think outside the box and try out different techniques. You’ll learn to play with long exposures, create light trails, and capture the serene beauty of the night sky. Plus, it’s an incredible way to stand out and add a unique edge to your portfolio.
In this guide, I’ll walk you through everything you need to know to conquer the night with your camera. From the gear you’ll need and the perfect settings for capturing those low-light shots, to the best techniques and post-processing tips. By the end of this series, you’ll be ready to take on the night and come out with images that leave everyone in awe. So, let’s get started on this exciting journey to mastering night photography!
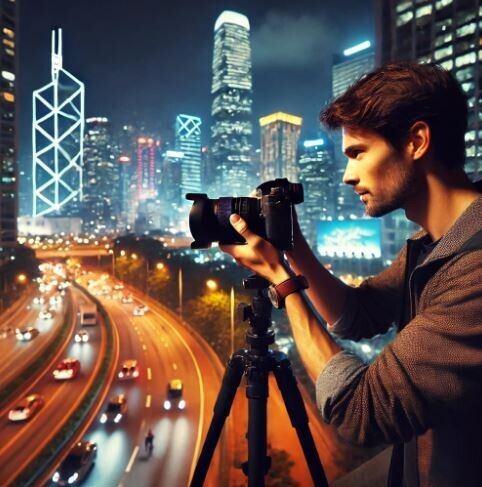
Essential Equipment for Night Photography
Your camera gear can make or break your night photography experiences. Having the right equipment ensures you’re ready to handle any challenges low-light conditions throw your way. Here’s the lowdown on the essentials:
First up, your camera. A DSLR or mirrorless camera with excellent low-light performance is your best bet. Look for cameras with higher ISO capabilities and larger sensors. Full-frame cameras often perform better in low light, but crop sensors can still get the job done if you know how to work with them.
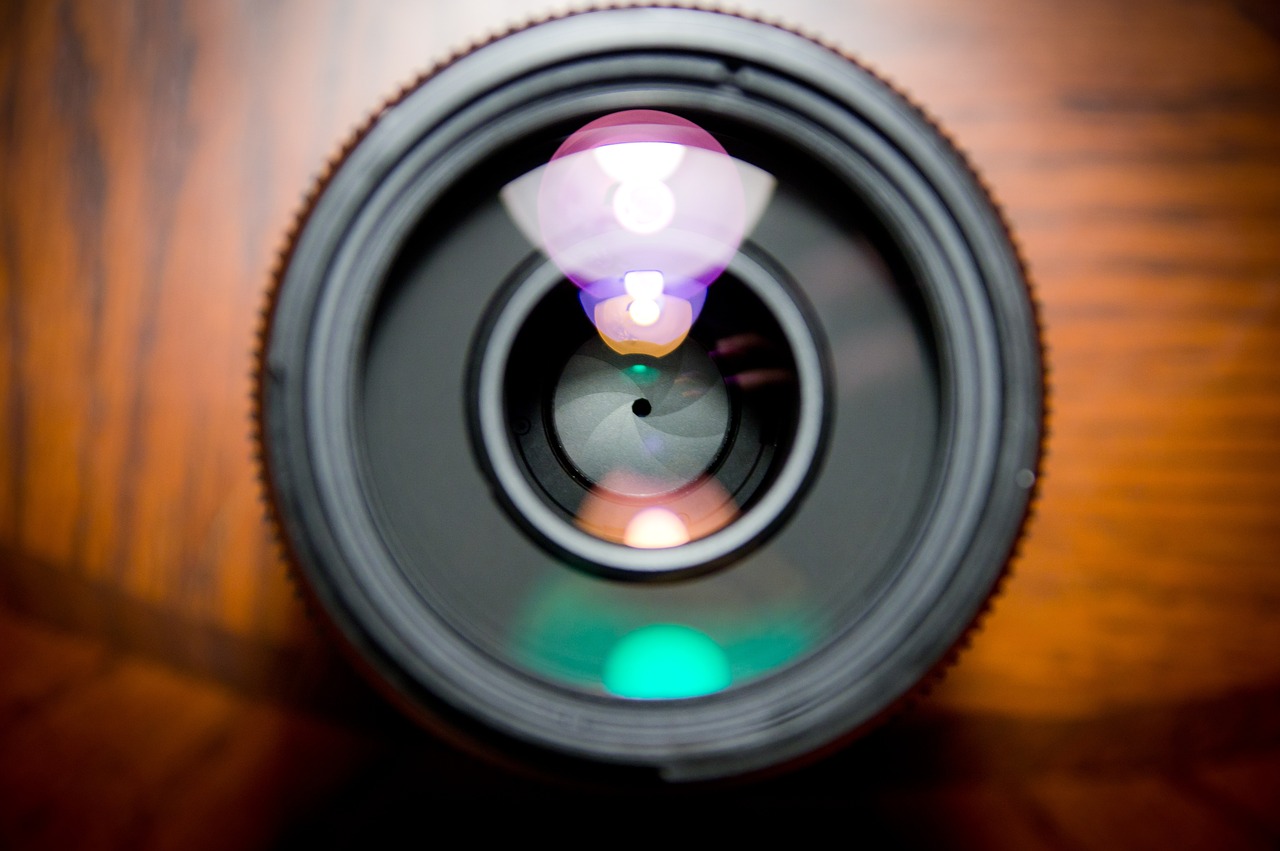
Lenses are just as crucial. A fast lens, with a wide aperture like f/2.8 or wider, allows in more light, making your night shots brighter and sharper. Prime lenses, like a 50mm f/1.8, can be game-changers in low-light situations. Don’t underestimate the power of your lens – it’s not just about the camera body.
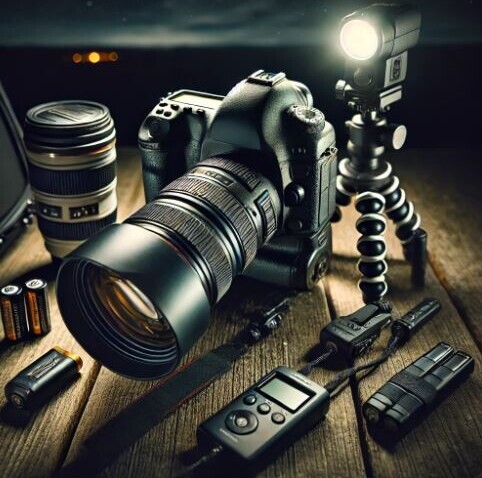
A sturdy tripod is non-negotiable. Long exposures and night photography go hand in hand, and you’ll need something stable to avoid any shake or blur. Even a little movement can ruin a shot when you’re dealing with shutter speeds of several seconds or longer. Look for a lightweight yet robust tripod that you can easily carry with you.
Other accessories can improve your night photography experience. A remote shutter release helps avoid any camera shake when you press the shutter button, keeping your shots crisp and clear. A headlamp or small flashlight is useful for setting up in the dark and making adjustments to your camera settings. And don’t forget extra batteries – long exposures can drain your power quickly.
Loaded up with the right gear, you’ll find night photography a lot more enjoyable and successful. The challenge of capturing the night becomes a creative adventure rather than a frustrating experience. Get your gear ready, and let’s move on to mastering the perfect settings for those breathtaking nighttime shots.
Mastering Camera Settings for Night Photography
Getting your camera settings right is key to nailing night shots. Unlike daytime photography, where auto modes can suffice, manual control is your best friend when the sun goes down.
Start with ISO settings. Higher ISO lets your camera’s sensor absorb more light, crucial for low-light scenes. But beware—cranking it up too high can introduce noise, those pesky little specks that can ruin an otherwise perfect shot. Generally, start around ISO 800 and adjust from there based on your specific situation.
Shutter speed is another critical setting. For capturing light trails from cars or the stars in the night sky, you’ll be using long exposures, sometimes up to 30 seconds or even more. A slower shutter speed lets more light hit the sensor but also makes the camera more sensitive to movement. This is where that trusty tripod comes into play.

Aperture, or f-stop, controls the amount of light entering the lens. A wider aperture (a lower f-number) lets in more light, making your photos brighter. However, a very wide aperture can narrow your depth of field, making only a small part of your image in focus. Starting around f/2.8 is a good balance for many night scenes.
Manual focus is often your best bet in low light. Autofocus can struggle in the dark and might leave you with blurry shots. Switch to manual focus, and use live view if your camera has it to zoom in and fine-tune your focus on a bright star or distant light source.
Each scene is different, so don’t be afraid to experiment. The beauty of digital photography is that you can immediately see your results and make adjustments on the fly. Getting a feel for how your camera responds to these settings in low-light conditions takes practice, but it’s worth the effort.
Techniques for Stunning Night Photos
Here’s where the magic happens—trying out different techniques to capture the night in all its glory. These methods will help you unlock the full potential of your night photography skills.
Let’s start with long exposure photography. This is your go-to for creating those dreamy, ethereal night shots. The idea is to use a slow shutter speed to capture more light over a longer period. This works wonders for photographing traffic light trails, smooth water bodies, and even stars in motion. For this, set your camera on a tripod, choose a low ISO, and experiment with shutter speeds ranging from a few seconds to several minutes.
Light painting is another fun technique that lets you get creative. By using a small light source like a flashlight or even sparkers, you can ‘paint’ in the air while the shutter is open. This results in bright trails or patterns that can add an artistic touch to your photos. It’s a bit like drawing but with light and in the dark—super cool, right?
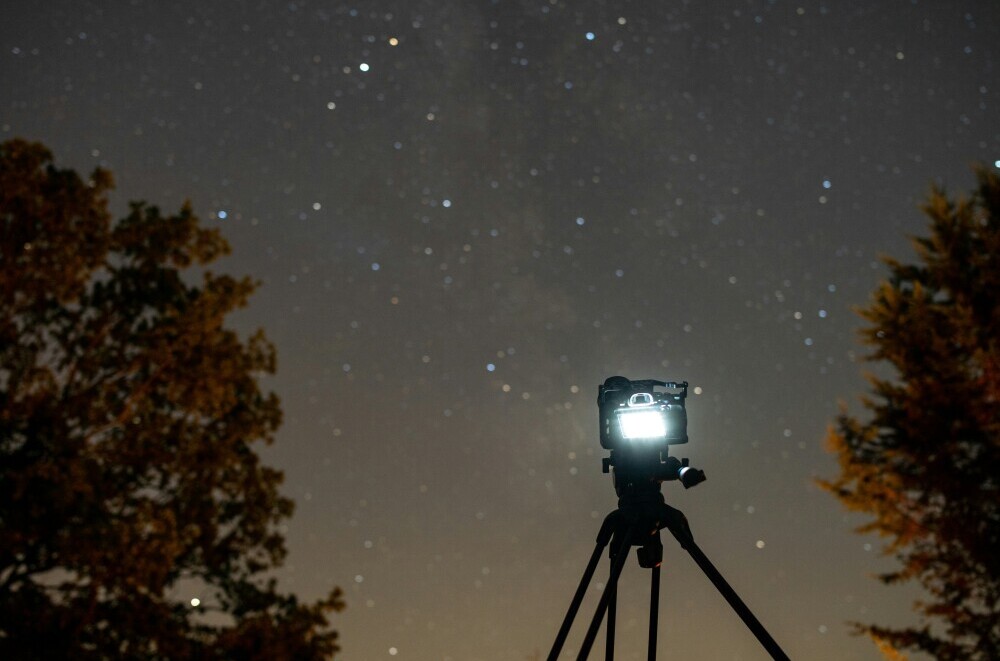
Capturing star trails and the Milky Way can be incredibly rewarding. For star trails, set your camera for a long exposure or use interval shooting to combine multiple shorter exposures. If you’re aiming for the Milky Way, a wide-angle lens and a high ISO (around 3200) will help. Use an app to find the best times and locations where light pollution is minimal.
Reflections and silhouettes add another layer of complexity to your night shots. Water bodies like lakes or rivers can reflect lights beautifully, creating a mirror-like effect. Silhouettes work well when you have a strong light source behind your subject, outlining their form against the illuminated background.
Post-Processing Tips for Night Photography
Post-processing is where you can truly bring your night photos to life. The dark conditions often mean you’ll need a bit of extra tweaking to get the best out of your images. Here’s what you need to know.
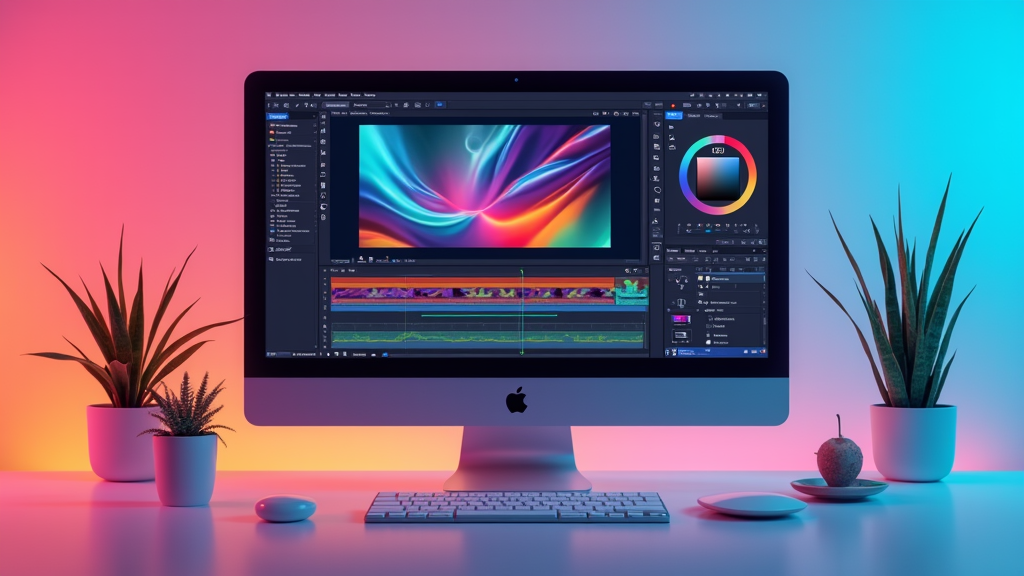
First off, noise reduction is a must. Even with the best settings, night photos can have noise. Most editing software, like Adobe Lightroom or Photoshop, includes effective noise reduction tools. Just be careful not to overdo it, as too much noise reduction can make your photo look unnaturally smooth.
Next, focus on enhancing details. Sharpening your photo can bring out textures and make your subject stand out. Start with small adjustments, and zoom in to see the effects up close. Tweaking the clarity and structure sliders can also help make your image pop.
Color correction is another crucial step. Night photography often results in cooler tones, but you can adjust the white balance to add warmth or coolness depending on the mood you want to create. Play around with the temperature and tint sliders until you get a pleasing look.
Don’t forget to experiment with exposure and contrast. Night photos can sometimes look flat straight out of the camera. Increasing the exposure slightly can brighten up the image, while adjusting the contrast can make the lights and darks more defined. Pay attention to the histogram in your editing software to ensure you’re not losing detail in the highlights or shadows.
Creative edits can also add a unique flair to your photos. Adding vignettes, playing with light flares, and even incorporating overlays can give your images a distinctive style. The key here is to experiment and find what best complements your shot.
Post-processing is an art in itself, one that complements the skills you’ve honed behind the camera. Take your time with it, and don’t be afraid to try different techniques. The end goal is to enhance the story your photo is telling, making it as impactful as possible. Happy editing!


Wow, this is an amazing guide! I love photography, and I’ve been trying to capture the beauty of the night, but I still struggle with it. Your tips on long exposure and manual focus sound like they will really make a difference. I can’t wait to try them out and see if I can finally get the shots I’ve been aiming for. Thanks so much for sharing this, it is super helpful!
Thank you so much! I’m really glad you found the guide helpful! Capturing night photography can be tricky, but once you get the hang of long exposure and manual focus, you’ll see a big improvement. I can’t wait to hear how your shots turn out! Keep experimenting and have fun with it—night photography can be so rewarding. Let me know if you have any other questions along the way! Happy shooting!