Landscape photography is a thrilling journey that takes you to some of the world’s most stunning locations. But it’s more than just pointing your camera at a beautiful scene and clicking. There’s a bit of a learning curve, but that’s part of the adventure!
The first thing to grasp is that landscape photography needs patience and practice. The perfect shot doesn’t always come easy. Sometimes, it’s about waiting for the right moment, the right light, and the right conditions. It involves a lot of trial and error, learning and tweaking each time you shoot.
Let’s break down the basics. Getting familiar with light, composition, and timing is essential. Light is your best friend in photography – it can turn an average scene into something magical. Early morning or late afternoon light usually gives a soft, warm glow that’s perfect for landscapes. Harsh midday sun? Not so much.
Composition is another biggie. How you arrange the elements in your frame can make or break a shot. Simple rules like the Rule of Thirds help guide the viewer’s eye through the image. Leading lines and framing can add depth and focus, making your photo stand out.
And timing? Oh, it’s crucial. The landscape changes with the time of day and seasons. The same location can look dramatically different at dawn versus dusk, or in summer versus winter. So getting familiar with a spot and planning your shoot around these changes can lead to some epic shots.
Remember, landscape photography is not just about capturing a scene; it’s about conveying a feeling, telling a story, and immersing the viewer in that moment. It’s a bit of magic you create with your camera, your vision, and a lot of persistence.
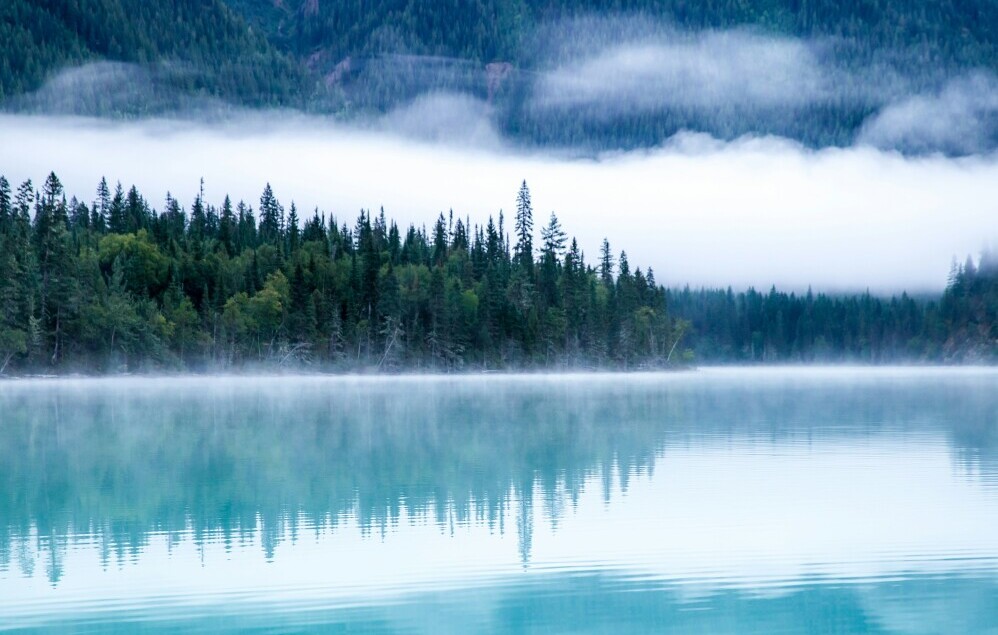
Choosing the Right Equipment
The right gear can make a world of difference in landscape photography. It’s not just about the camera; each piece of equipment plays a vital role in capturing that perfect shot.
First off, let’s talk about cameras. While any camera can technically capture landscapes, a DSLR or mirrorless camera with a good sensor will give you the flexibility and quality needed for those expansive scenes. Look for one with manual controls so you can tweak settings based on the environment.
Lenses are another critical element. A wide-angle lens is practically a staple for landscape photography because it allows you to capture more of the scene. However, don’t overlook the power of a telephoto lens, which can help you zero in on distant features, adding variety and interest to your shots.

A sturdy tripod is non-negotiable. Sharpness is key in landscape images, and a tripod ensures stability, especially during long exposures. It also allows you to shoot in lower light conditions without worrying about camera shake.
You might also want some handy accessories. Filters, for example, can be game-changers. A polarizing filter can cut through glare and make skies pop, while ND filters let you shoot long exposures even in daylight, creating dreamy, smooth water effects.
Pack extra batteries and memory cards. The last thing you want is to run out of juice in the middle of a perfect sunset or miss out on shots because your card is full.
Investing in good quality gear helps, but remember – knowing how to use it is just as important. Experiment, practice, and get comfortable with your equipment. That way, when the perfect moment comes, you’re ready to capture it without fumbling around.
Mastering Light and Composition
Natural light is the secret sauce of landscape photography. The quality, direction, and intensity of light can transform a scene. Early mornings and late afternoons – the golden hours – are magical. The light is soft, warm, and casts long shadows that add depth and texture to your shots. Blue hour, just before sunrise and after sunset, provides a more muted, cool-toned glow that’s equally captivating.
Understanding how to work with light is essential. Backlighting can create dramatic silhouettes, while side lighting emphasizes textures and details. Overcast days shouldn’t deter you either. The diffused light can be perfect for capturing moody, atmospheric scenes that are just as stunning.
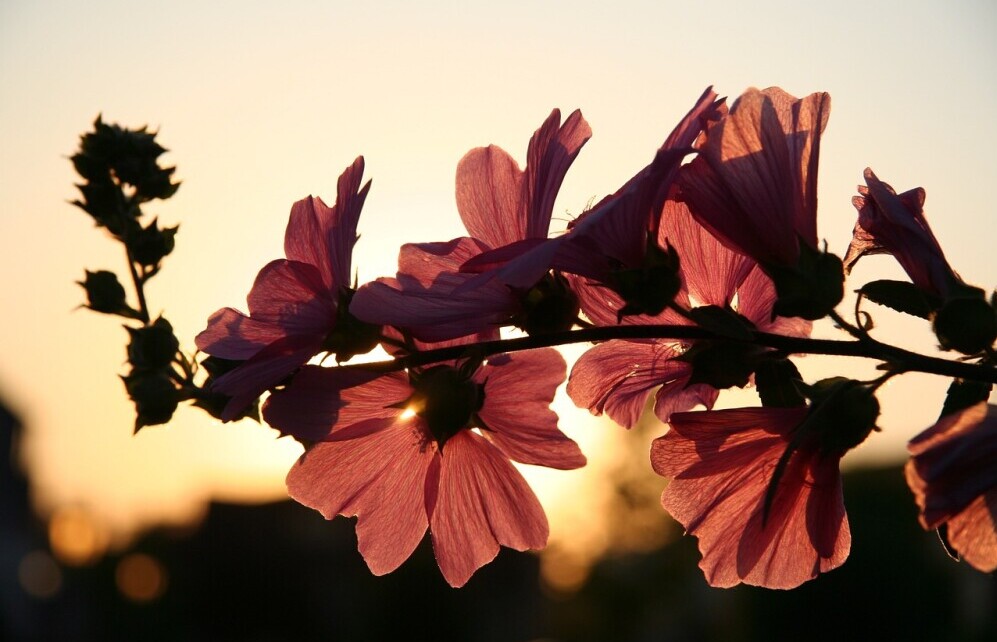
Composition is where you get to be a bit of an artist. The Rule of Thirds is a classic technique. Imagine dividing your frame into nine equal parts; the points where these lines intersect are ideal spots to place your subject. Leading lines, like pathways, rivers, or even shadows, guide the viewer’s eye through the photo, creating a sense of depth and movement.
Framing is another trick up your sleeve. Using natural elements like trees, arches, or rocks to frame your main subject can add layers and dimensions. It gives the viewer a sense of looking into a scene rather than just at a flat image.
Filters come into play here too. Polarizing filters can make colors pop and reduce reflections. ND filters (neutral density) allow for longer exposures, resulting in those silky-smooth water effects or soft, streaky clouds that add a dynamic touch to your landscapes.

Mastering light and composition takes time and practice. Review your shots, learn from what worked and what didn’t, and apply those lessons to your next shoot. Over time, you’ll develop an eye for what makes a landscape photo truly stunning.
Location Scouting and Planning
Finding the perfect location is a crucial part of landscape photography. Research is your best friend here. Look at photos, read travel blogs, and use platforms like Instagram and Pinterest to get ideas of where to shoot. But remember, nothing beats your own eyes. Visiting the location beforehand can give you a sense of the best spots and angles.
Weather can make or break a photo, so understanding weather patterns is vital. Apps like Weather Underground or a simple weather website can help you keep track of conditions. Cloudy skies might be great for some shots, but a clear, sunny day might work better for others. Seasonal changes also affect landscapes, giving you different looks throughout the year.
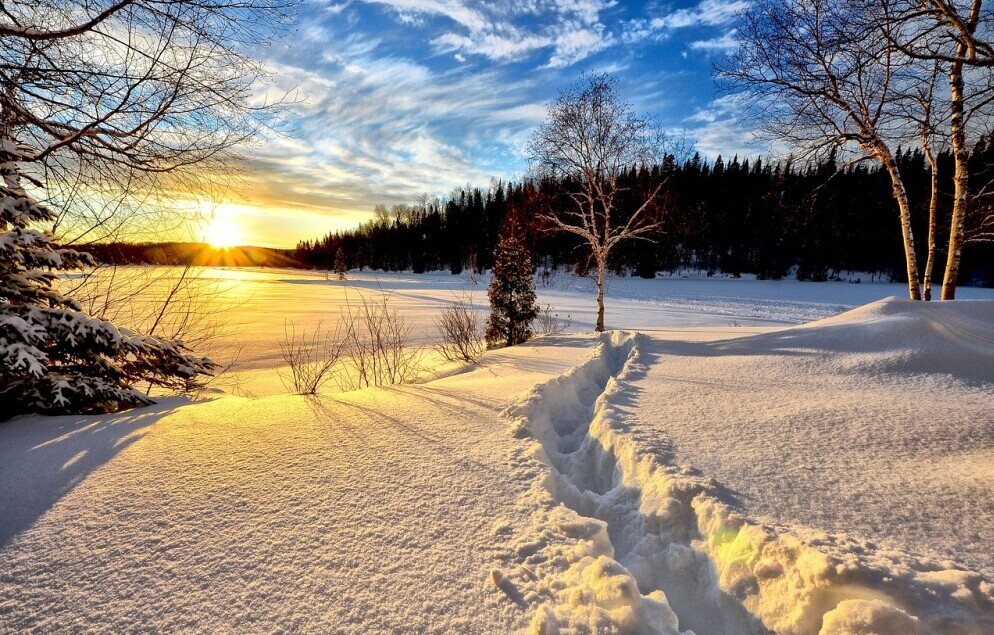
Using technology can make scouting and planning smoother. Apps like Google Earth or TPE (The Photographer’s Ephemeris) help you visualize how light will fall on your chosen spot at different times of the day. This can be a game-changer for planning sunrise or sunset shots.
Safety is something you can’t overlook. Remote locations can be unpredictable, so always let someone know where you’re going and when you plan to return. Carry essentials like a map, compass, flashlight, first-aid kit, and enough food and water. A power bank for your phone or camera can be a lifesaver, literally and figuratively.
Incorporate these scouting and planning steps into your routine. It makes the difference between a shot that’s ‘okay’ and one that’s breathtaking. Being prepared and knowing what to expect when you arrive lets you focus on capturing those amazing moments instead of scrambling last minute.
Post-Processing and Editing
Editing is where the magic happens, bringing out the best in your landscape shots. Basic editing techniques can enhance the mood and detail in your photos, turning a good shot into a great one. Start with adjusting brightness, contrast, and saturation. These simple tweaks can make your image more vibrant and appealing.
Software options abound, from Lightroom to Photoshop and other specialized tools. Lightroom is fantastic for its non-destructive editing and user-friendly interface. Photoshop, on the other hand, offers more advanced features for when you’re ready to dive deeper into the editing pool.

Sharpening is crucial. It helps to make details pop, giving an image a crisp, clean look. Be careful not to overdo it, as too much sharpening can make your photo look unnatural. Balancing sharpness with noise reduction is key, especially for images shot in low light conditions.
Color correction and white balance adjustments can dramatically improve the feel of your image. Sometimes the camera doesn’t capture colors exactly as you see them, so it’s up to you to adjust and ensure the colors are true to life or artistically enhanced. Playing with the HSL panel (Hue, Saturation, Luminance) in Lightroom can lead to stunning results.
Ethical considerations are important in post-processing. The goal is to enhance your photo, not deceive. Tweaking colors or removing small distractions is generally fine, but adding elements that weren’t there or heavily altering the scene can cross ethical boundaries. It’s about maintaining the integrity of what you’ve captured.




This article offers a fantastic overview of landscape photography, emphasizing the importance of patience, practice, and understanding light and composition. I appreciate how it breaks down the key elements, making it accessible for both beginners and those looking to refine their skills. The advice on equipment and location scouting is practical and well-explained, helping photographers prepare for those perfect shots. The section on post-processing is especially valuable, highlighting how careful editing can elevate a photo without compromising its authenticity. Overall, this guide serves as an excellent resource for anyone eager to improve their landscape photography
Thanks for the awesome feedback! I’m really glad you found the article helpful. Happy to hear that the tips on equipment, location scouting, and post-processing were valuable to you! Keep practicing, and I’m sure you’ll capture some amazing shots.