A lot of people seem to be big fans of using the automatic features of a camera. I encourage others to embrace the manual mode. There are three main functions to learn: ISO, shutter speed and aperture to maneuver your shots to look the way you want them to. Each function has its own purpose and learning about them is essential to be able to run in manual mode. For this section, we’ll learn how to use ISO.
What is ISO?
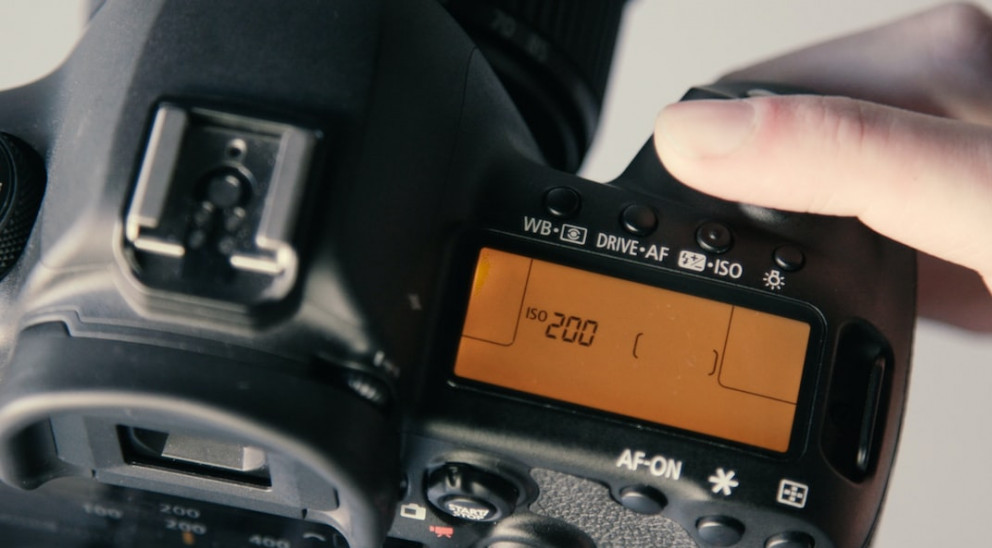
The easiest way to explain ISO is to think of it as a type of fake light.
It is the setting on your camera that allows you to “shed some light” on the photo/video in a darker setting. And that is basically what it is used for.
It is the amount of sensitivity directed towards the sensor in your camera.
So the lower the ISO setting, the less sensitivity and the higher the ISO the more sensitivity.
This is all done by bringing more light to your image or to the video you are creating. When the ISO increases, the amount of light it takes to expose the image then decreases.
In turn, it increases the sensitivity to everything which can also create noise and reduce color accuracy.
Do you ever find yourself sitting somewhere and even though it’s dark out, you think “Oh this would make for a perfect photo!” You grab your camera only to be disappointed that it didn’t turn out the way you wanted it to. It’s too dark!
Well, this is where knowing how to use ISO, shutter speed and aperture come into play.
What are some adverse effects of ISO?
As previously mentioned, even though ISO can be helpful, unfortunately, by using ISO, you run the risk of your photos or videos coming out too “grainy” or has too much “noise.” It is a price to pay if you aren’t careful.
With the noise from a ISO comes the loss of color range as well as detail and sharpness that is often found by using a lower ISO number.
Not every ISO setting will do this, however. Naturally the more expensive cameras have a higher ISO tolerance. It’s best to play with your camera settings to see what works best for the type of camera you have.
When to use ISO
The general rule of thumb is to bring in enough light or to record/shoot during the day. By doing so you can keep your ISO to a lower number.
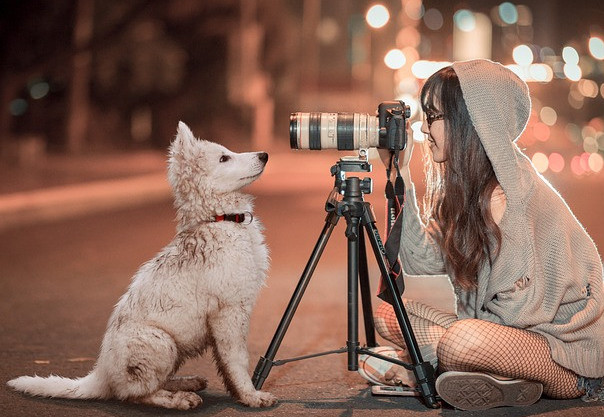
However, like I just mentioned, if you are finding yourself in a night shoot or something that is done when it’s darker, you’ll want to crank up that ISO setting for some extra light.
Generally, ISO on your camera comes in settings of 100, 200, 400, 600, etc.
The lowest or “base” setting is at 100 and the less light is being let in. Whereas the higher the ISO number, the more light is being let in.
As I mentioned, not every photo will turn out grainy if you are careful with your settings. So, say you’re using your camera indoors or on a cloudy day, you might want to try an ISO setting of 400.
If you’re outside and it’s dark out, you may try using a setting up to 800 or higher. At this point, you may run that noise risk in your photos.
Not every camera has the same profile or the same settings and effects. You will either want to do your homework in advance before purchasing it or play with the settings and get to know your camera and how it functions in low light situations.
Knowing where your ISO settings is just as important. For a Nikon, look for ISO sensitivity settings and for a Canon, ISO can be found under speed settings or something similar to that. After you’ve located it, choose the ISO setting you want and save the changes.
Also, keep in mind that some cameras may have a ISO button or a wheel that gives you quick access.
How does this work with shutter speed and aperture?
It is called the trifecta of photography for a reason. Aperture, shutter speed and ISO all work together to create the desired shot you are wanting.
Shutter speed and aperture will control the physical light that hits the sensor, whereas, ISO is the amount of light the camera will need.
If you are in a low light situation, a faster shutter speed and a higher ISO will be what you need. Unless of course you are looking for a blurry effect, in which case, the slower shutter speed is necessary.
You can use fast shutter speeds to capture shots with fast movement without blurring, thus making high ISO perfect for wildlife or sports photography.
Since a higher ISO allows for a faster shutter speed, this would mean that a higher ISO would mean that you can use a smaller aperture.
The reason you would want to use a higher ISO is because with a small aperture and a fast shutter speed it reduces the amount of light that hits the sensor. Thus creating the need for more light.
As always, regardless of the tips and tricks mentioned here, you still will want to play with your camera settings to find the perfect balance.
To wrap things up…
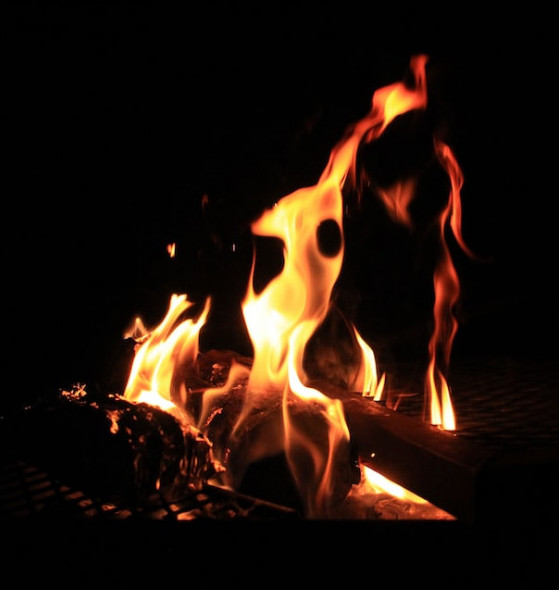
One of the many joys of photography or video creation, is the learning experience that comes with it.
I swear you can learn more just by switching your camera to manual mode and having a go at it!
Learning the differences between ISO, shutter speed and aperture can not only provide the knowledge needed to effectively use your camera to the extent it was made for.
Don’t forget that you’ll want to aim for the lowest ISO settings but don’t exclude the possibility for a higher setting when necessary.
Like with anything, it’s the practice that makes it perfect!
Please feel free to ask any questions in the comment section below or any experiences you’ve had while using manual mode!

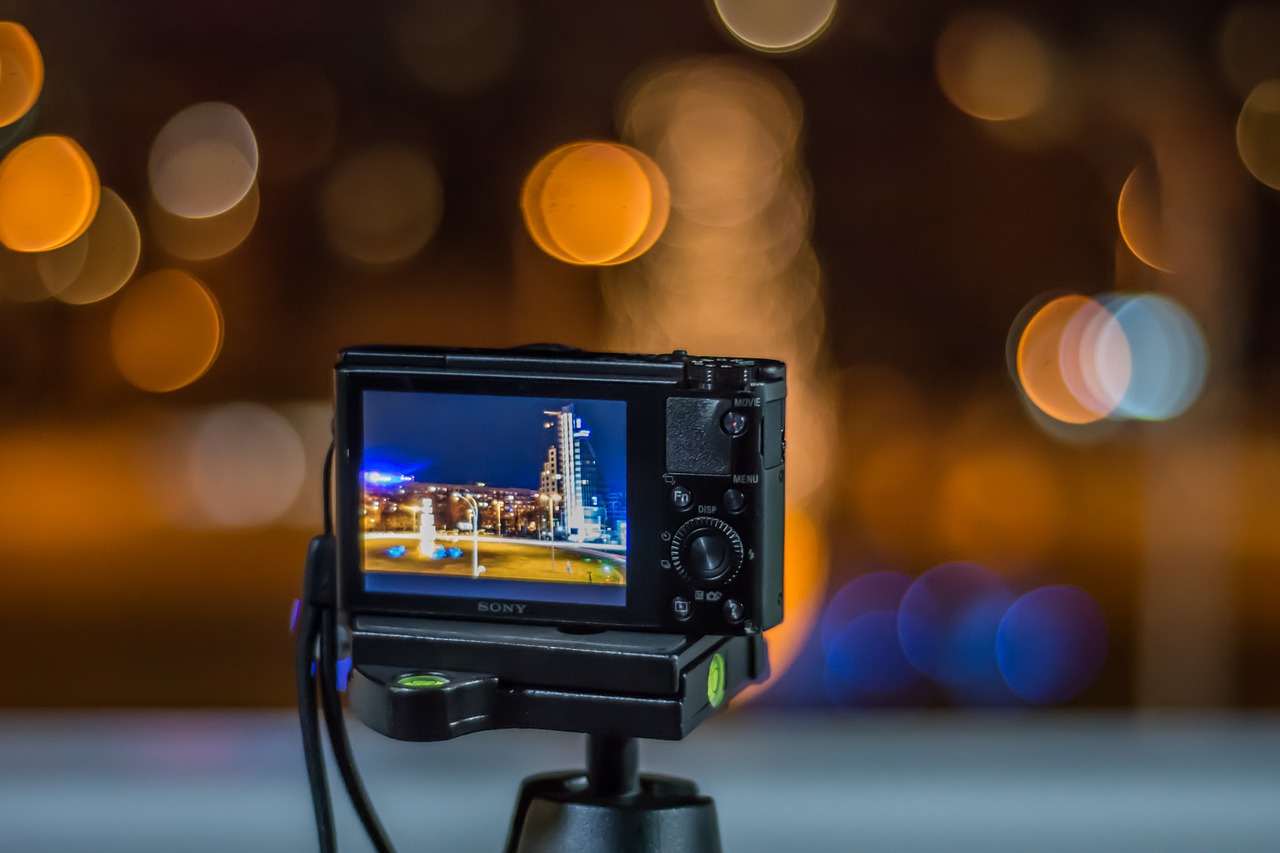
Thank you for sharing this informative article on how to use ISO in photography and its significance in capturing great shots. As an enthusiast photographer, I appreciate the in-depth explanation and practical tips you provide. ISO is a fundamental aspect of photography that plays a crucial role in controlling the exposure of an image. Understanding how to utilize ISO effectively can greatly enhance the quality and versatility of our photographs.
From my own experience, I have found that mastering ISO allows for greater flexibility in different shooting conditions. Adjusting ISO settings enables photographers to capture well-exposed images in low-light situations or freeze motion in fast-paced scenarios.
Thank you for sharing your knowledge and providing a comprehensive guide on how to use ISO effectively in photography. Your article serves as a valuable resource for both beginners and experienced photographers, encouraging them to explore the possibilities and push the boundaries of their craft.
Thank you, Dave! I appreciate the response. I am so glad you found the value in this article. I’m even more thrilled that you know how to use ISO or have had the experience to share!