If you’re new to photography or using a camera in general, you may not be aware of how to manually use the settings of your camera to really get the shot you’re looking for. The setting I want to talk about today is the aperture. You may wonder, “Well, how does aperture work?”
The three main functions to “focus” (pun intended) on your camera are: the ISO, shutter speed, and aperture. These three work together to help you with your camera’s exposure. Each function serves a different purpose. We will get to those but for today let’s focus on just the aperture.

So, what does aperture mean?
Aperture is simply a way to control how much light is filtered through your lens to the sensor. It’s a part of the triangle of tools I mentioned above and is used to manually control the way you take photos.
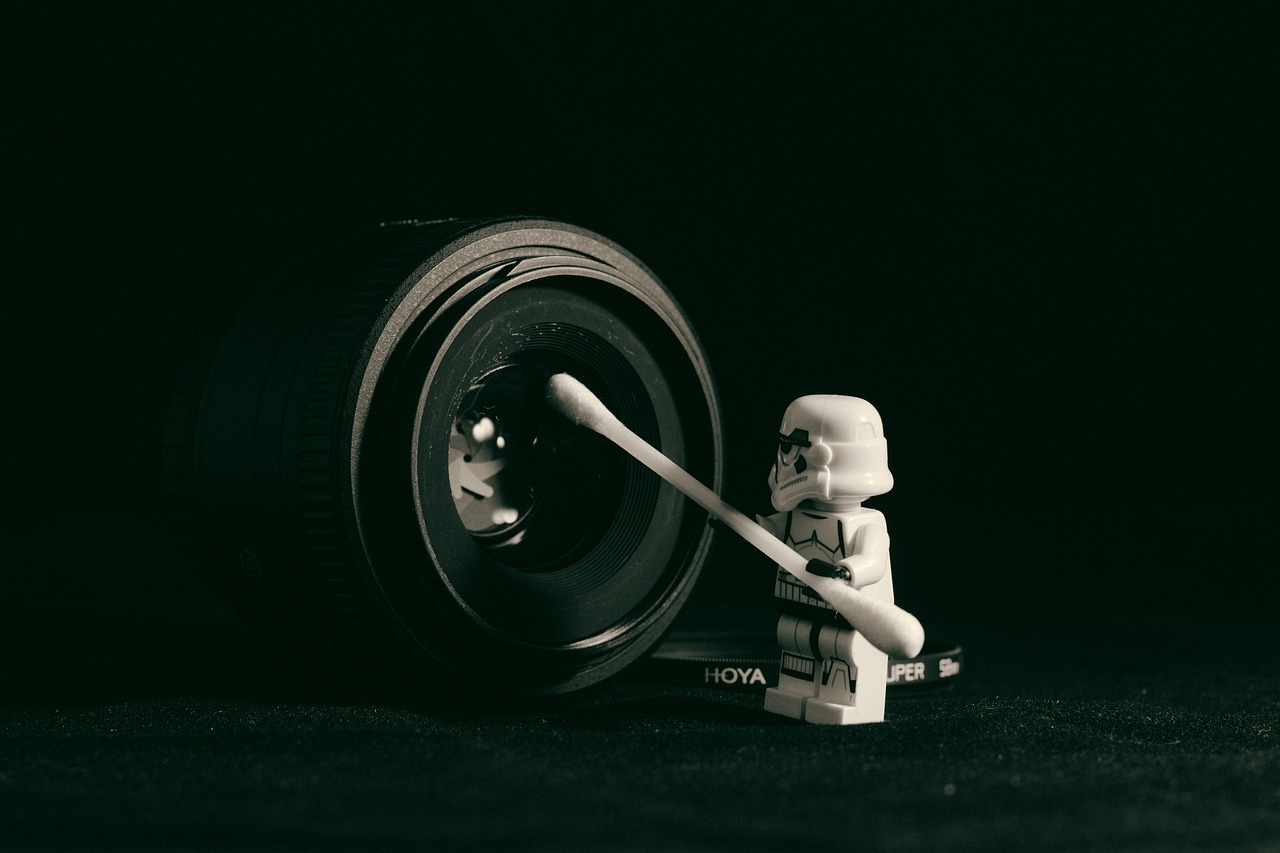
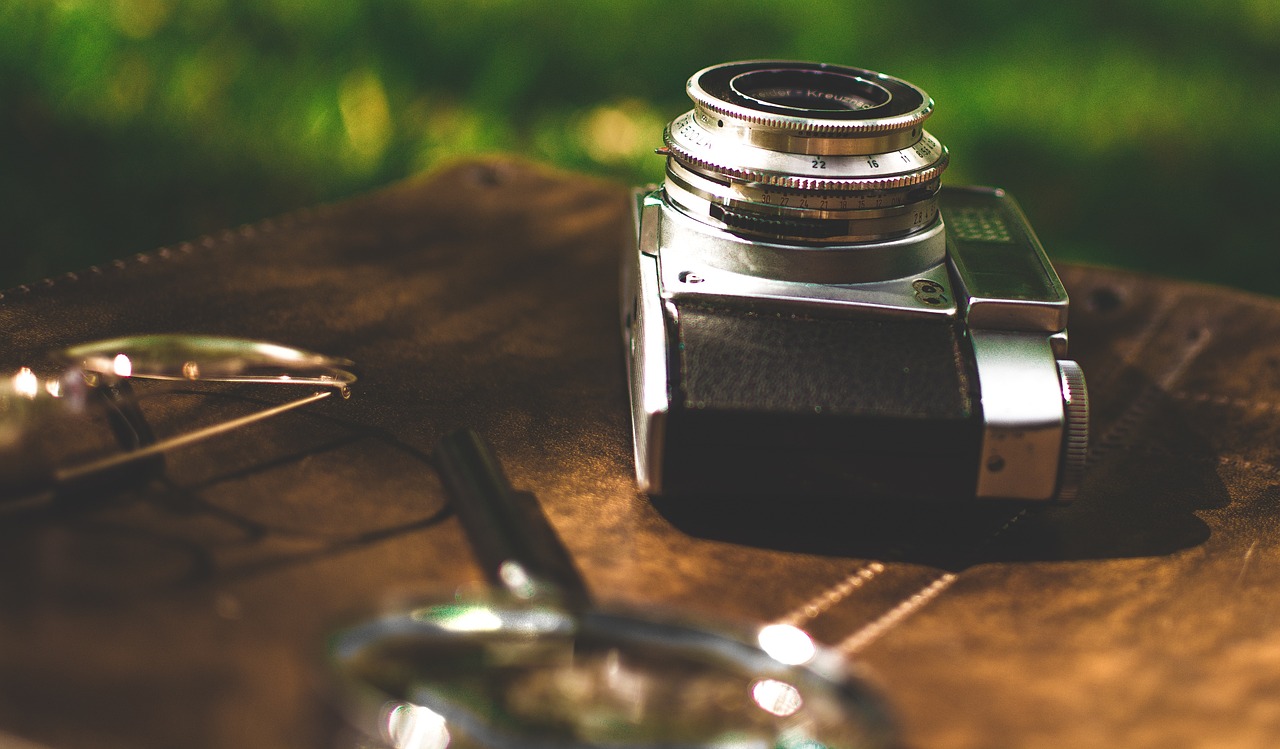
You’ll notice on the lens of your camera, there are a series of blades. Aperture refers to the amount of light that is allowed through the lens.
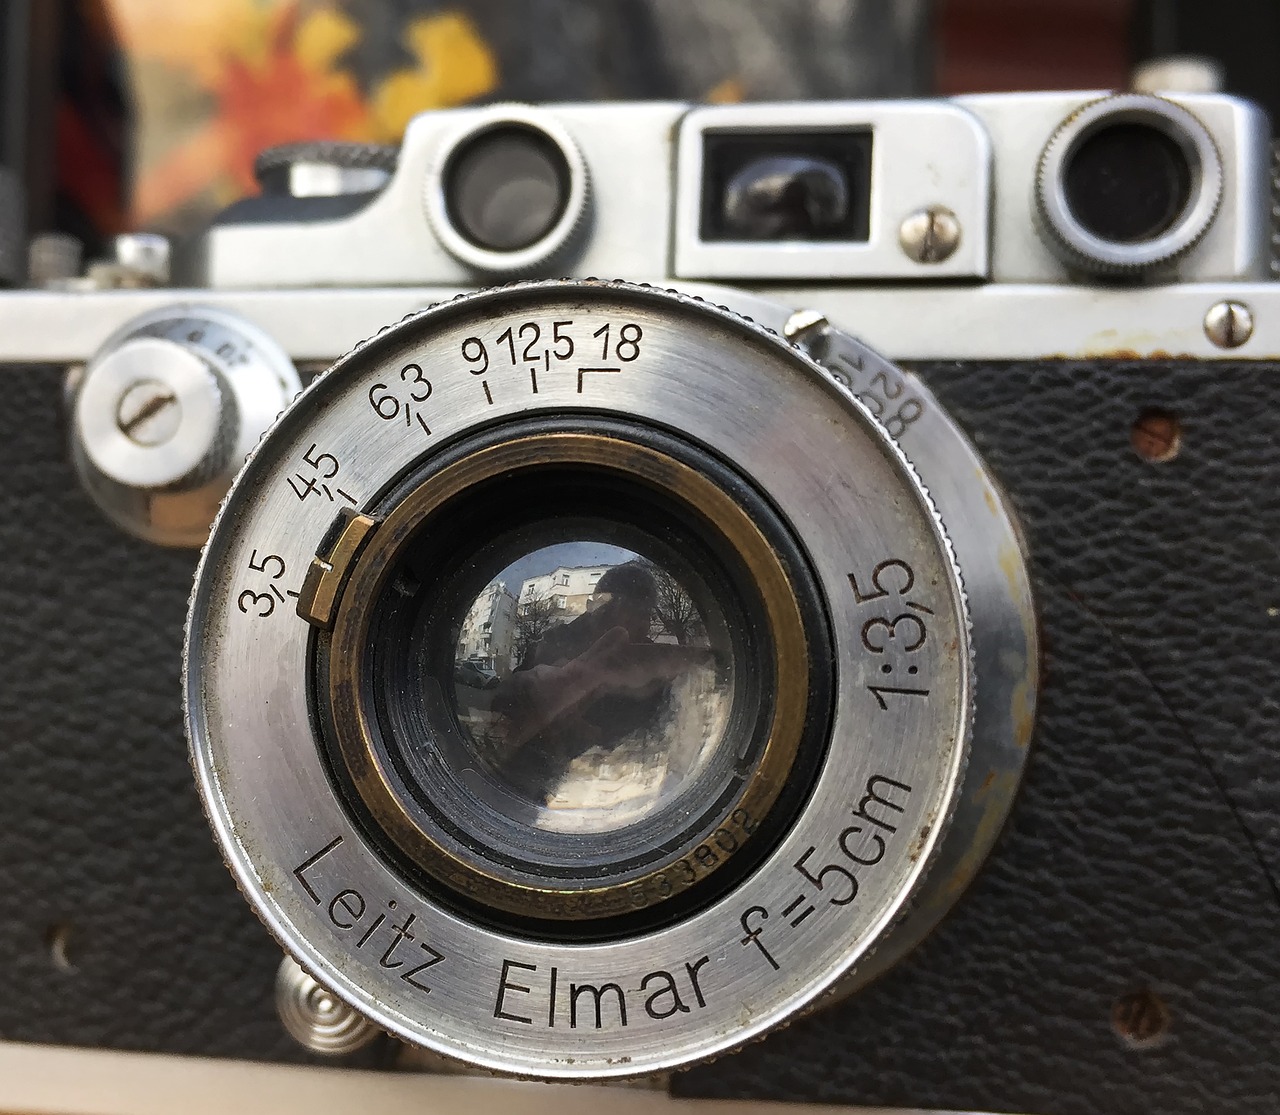
Keep in mind that another term for aperture is the “F-Stop.” The F-Stop settings on your camera come in a series of numbers. Ex: 1.4, 2.0, 2.8, and goes all the way to 22.
The wider the lens, the more light comes through the lens and the more blurry the background is of the subject you’re trying to shoot. Whereas, the smaller the lens is, less light comes through the lens, the more clear the background is.
The funny part is the wider the lens, the smaller the f-stop number is. And the larger the f-stop number is, the smaller the hole is for light to come through your lens.
How do I use aperture on my camera?
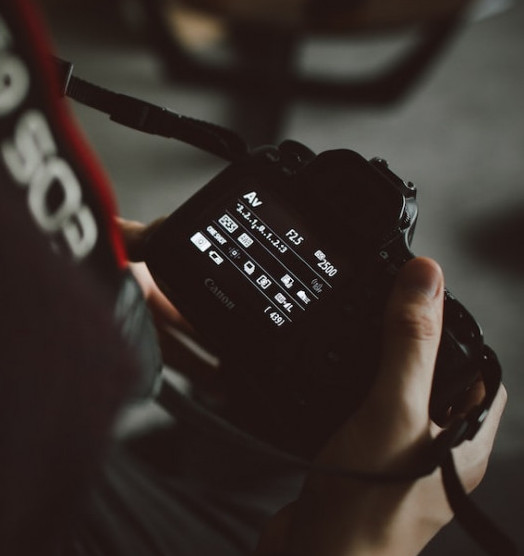
Every camera is different as to where you go to access the aperture. For example, one of my Canon cameras, I press down on the AV button and then scroll the top “dial” while holding down on the button.
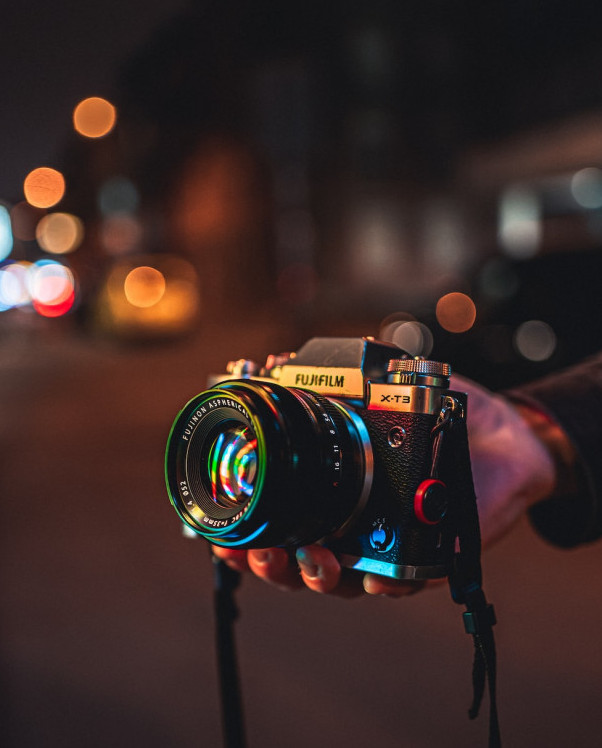
These days everyone is moving towards mirrorless cameras. And for the more modern cameras, the aperture is located on the lens itself. You’re able to twist the lens to select the type of f-stop you’re looking for.
However, also take note that the focus ring is also located on the lens to bring items in the foreground into focus. You can push it forward or backwards allowing you to manage what you want to focus on.
I highly recommend just playing around with the different aperture settings to see what works best for you.
Is a lower F-Stop number better than a higher one?
Regarding if it’s better to use a lower f-stop or a higher one is really up to preference.
If you are wanting a blurry background, it’s better to have a lower number for your f-stop.
One the other hand, if you prefer a clear background, you’d want a higher number.
This can be confusing as most of us assume that if the number is bigger than the opening for your camera should be bigger, right? Nope, not in this case. It is the complete opposite. As I mentioned before, the lower the number, the wider the lens.
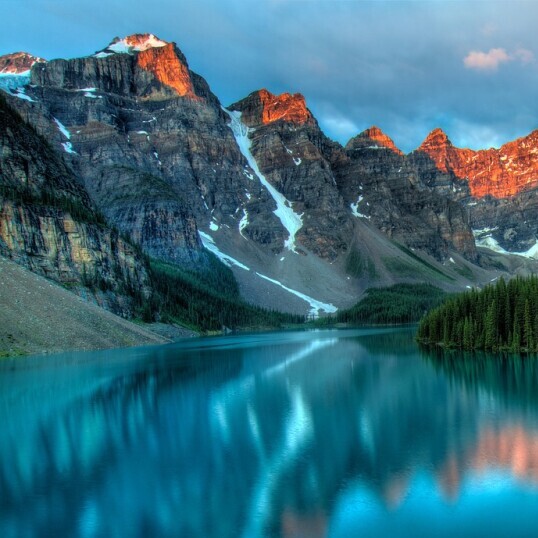
Say you’re wanting a nice landscape shot and you want every detail of that shot. You’ll of course want a higher fstop number or one that will close the lens, allowing less light in and the ability to sharpen that image.
Keeping in mind that you will still want to learn and use ISO and shutter speed with your overall decision of how you want the picture to look as well.
The average portrait setting is 2.8 or even a 4 to achieve that nice picture yet the lens is also wide enough to create that blurred background making the subject of the photo pop.
What is the ‘depth of field’?
To add to all of this, aperture also controls the depth of field or the distance between objects. The focus field is what is in focus.
The more light you let in, the smaller the depth of field is and visa versa, the less light you let in, the bigger the depth of field is and the clearer the background is.
The smaller depth of field is also called a “shallow depth of field” since only a small portion is in focus.
If you have an open aperture (ie: smaller f-stop number, wider depth of field, letting more light in) you’ll have the cinematic look with the fuzzy background.
Another way to explain it is imagine your camera setting is at f-stop 1.8, you have opened the lenses and the background is blurry. You’ll notice wherever you placed your focal point, that everything else around it is blurry. except for that focal point.
Then you take your camera and open the f-stop to the highest it will go. As you watch the aperture close, you’ll notice everything else in the background becomes clearer.
You depth of field has just increased as you made everything in the background clearer. It kind of seems backwards with the f-stop ranges and how the smallest number opens the lenses and the larger number closes the lens.
To wrap things up.
If you do not want to think about what and how the settings are or work, you can set your camera to “automatic” mode and it’ll figure it out for you.
However, what is the fun in that? Why not learn something new and figure out ways to make that cinematic shot with the blurry background or get those perfect night shots? With that being said, I would set your camera to “manual” mode and have at it!
Find out what it means to use your aperture and create an awesome shot! Take control of your camera and get those creative juices flowing!
Learn how to use the aperture, ISO an shutter speeds and become an expert at photography!
Please feel free to leave your pictures along with any questions in the comments below.

Thank you for providing a clear and concise explanation of how aperture works in photography. Your post breaks down the technical aspects of aperture in a way that is easy to understand, making it a great resource for beginners, like me, who are just starting to learn about the fundamentals of photography.
Your emphasis on the relationship between aperture, shutter speed, and ISO is particularly helpful, as these three elements work together to create a properly exposed image. By the way, I loved the pun! 🙂
It’s also great to see that you included practical tips for using aperture creatively, such as using a wide aperture to create a shallow depth of field and blur the background of a subject. A tip I will be using.
Overall, your post is an excellent resource for beginners like me who wants to understand how aperture works and how it impacts the final result of a photograph.
Thank you for sharing your knowledge and expertise in such a clear and informative way.
Lisa Marie
Thank you, Lisa, for your response! I am glad you found value in learning how to use aperture!