In my opinion, the leap from taking good photos to great ones begins with a solid grasp of your camera’s settings. This isn’t just about twisting dials and pressing buttons, it’s about understanding the heart of photography, the basic camera settings and how each decision impacts your final image.
Now what is the big deal about getting the camera settings right? Well, imagine having a paintbrush that changes its bristles with every stroke, or a car that shifts gears on its own whims. That would be chaotic, right?
The same goes for photography. If you want to produce images that you’ve envisioned in your mind, you’ll need control. And that control comes from knowing and setting your camera to match your needs.
Today, I’m going to be talking about the very basics of these settings: aperture, shutter speed, and ISO – what I like to call the ‘trinity of exposure’. Plus, we’ll touch on why nailing your focus is just as essential.
As you read on, you’re going to find out about each component and how they work together to achieve the perfect shot. You’ll choose settings that resonate with your personal style and the atmosphere you want to capture.
Remember, your first attempt doesn’t need to be your last. Photography is a journey, and each shot is a step along the way.
Never feel overwhelmed; I’m here to help you with every setting and tip. So, grab your camera and let’s explore how to tap into its true potential.
Ready to jump into the essence of the Exposure Triangle in the next section? Because that’s going to include a detailed look at aperture, shutter speed, and ISO – the foundational elements that will transform your shots from ordinary to extraordinary.
Mastering the Art of Exposure: Aperture, Shutter Speed, and ISO
Getting a handle on exposure is the first step to unlocking the true potential of your camera. This trio of settings – aperture, shutter speed, and ISO – is often referred to as the Exposure Triangle. Each one plays a vital part in how much light hits your camera’s sensor, shaping the final image that you capture.
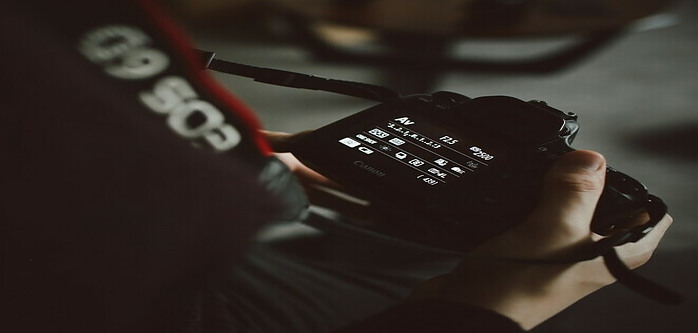
Let’s start with aperture. Think of it as the “pupil” of your lens. It can shrink and expand to control the amount of light that passes through. Aperture settings, represented by ‘f-numbers’ such as f/4 or f/16, directly affect the depth of field in your photos.
If you want to nail those stunning portraits with a creamy, blurred background, a wider aperture (which is a lower f-number) is your best friend.
Then there’s shutter speed, essentially a measure of how long your camera’s shutter stays open to expose the sensor to light. It can freeze a fast-moving subject with a quick shutter, or create a smooth blur to convey motion with a slower one.
If you’re photographing a sports event, a fast shutter like 1/1000 second is ideal, while for something like a waterfall, a slow shutter around 1 second might give you that silky water effect you’re after.
And finally, ISO controls your camera sensor’s sensitivity to light. A low ISO value (100 or 200) is perfect for bright conditions to avoid overexposed shots.
In darker situations, increasing the ISO can help you capture clearer images without a flash, but be aware that higher ISOs can lead to more noise or grain in your photos.
Now, mastering exposure is more nuanced than just learning definitions. It’s also about understanding how changing one setting affects the others and how to compensate accordingly.
Equipped with this knowledge, you’ll begin to see your photography transform. But to kick things up a notch, you’ll need to grasp the art of focus – and that’s exactly where we’re headed next.
Focusing on Success: Understanding Auto and Manual Focus
Now, let’s talk about something that’s going to make or break your photographs: focus. Getting a pin-sharp subject or a beautifully blurred background starts with understanding your camera’s focusing capabilities.
Auto Focus, or AF, is like having a smart assistant inside your camera. It automatically selects and locks focus on your subject. It’s handy for snapping shots quickly, especially in fast-paced situations, and most modern cameras are pretty good at it.
But, don’t overlook Manual Focus, or MF. This traditional technique puts you in complete control, allowing for pinpoint precision. It’s ideal for macro, portrait, or low-light photography where AF might struggle.
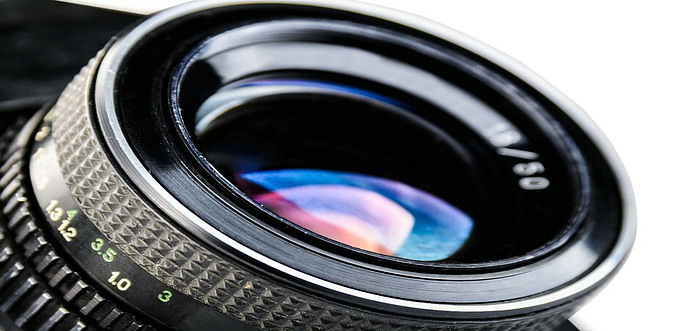
Regardless of the focus mode, here’s what I want you to remember: focus is not just about clarity. It’s about directing attention to where you want your viewer to look. Mastering focus requires practicing both AF and MF settings. You’ll start to see which scenes call for which mode.
Here’s a pro tip: use focus points to your advantage. Many cameras let you choose specific areas to focus on. Playing around with these can help you understand depth of field and how it relates to focus.
Finally, shake hands with your camera’s ‘focus-and-recompose’ technique. Focus on your subject, hold the focus, and then recompose the shot. It’ll open up a world of creative possibilities and is a stepping stone to getting pictures that stand out.
Putting It All Together: Practical Tips for Everyday Shooting
I’m here to help you shift from understanding to implementing. Choosing the right camera settings isn’t just about theory; it’s about practice and feeling at ease with your camera. You’ve now got a grip on aperture, shutter speed, ISO, and focusing, so let’s talk about applying these concepts in everyday situations.
Imagine you’re at a birthday party – you’ll want to capture the expressions, so aperture and focusing are your friends. Go for a wider aperture to keep your subject in focus while softening the background.
If your child’s playing soccer, a faster shutter speed is going to freeze that action. For a landscape shot, remember that a smaller aperture is key for a deeper field of focus.
But remember, your camera is a tool, and like any good tool, you need to use it to truly understand how it works. Don’t worry too much about getting the perfect shot every time; it’s through trial and error that you refine your approach.
Experiment with different settings in various conditions. That’s how you’ll come to understand the nuances of your gear.
There’s also a world of resources out there. Online tutorials, photography workshops, and community forums can offer guidance and answer your questions.
Choose something that resonates with you. A book might bore you to bits while a video tutorial gets you excited to try new techniques. Find what works and stick to it.
I really hope that you feel more confident in picking up your camera and playing with the settings. Remember, your goal is to tell a story, create a mood, or capture a memory.
Your camera settings are simply the tools for you to craft with. So grab your camera, embrace the learning curve, and start capturing those moments that matter most to you!
And as always please feel free to leave any questions or comments below!

Hey, nice article on basic camera settings for beginners. I like the approach you take in emphasizing the importance of theory vs implementing the concepts in everyday shooting. Your emphasis on using camera settings as tools for storytelling and capturing memories adds a thoughtful and creative dimension to the technical guidance provided in the article as well.
As a novice, I have to admit I have always been curious about what all of the different settings mean in terms of the final photo product. Glad you were able to clear that up here!
Thank you Ben! Photography can really be an addictive hobby. Learning the camera settings can be so beneficial. I’m glad it cleared some things up! Thank you for your response.
Hi,
This article has really opened my eyes to what it takes in order to capture that perfect image, I particularly liked the section on Mastering the Art of Exposure, knowing you can adjust the shutter speed in order to capture that perfect image. Am I right in readying that ISO is the brightness? so when I have taken photographs previously it will depend on the ISO, is this something you can change on your camera?
Really insightful article 🙂
Hi Shannon! I’m glad you enjoyed it! The ISO is a small factor. The aperture can really play a strong role in it. If you mess with the ISO too much, it can result in a grainy look to it. The ISO, aperture and shutter speed can be adjusted on your camera.