Have you ever wondered what bracketing is and why it’s a game-changer in photography? You’re going to find out about not just exposure bracketing, which is often the first thing that comes to mind, but also types like focus and white balance bracketing.
This isn’t just about capturing a single perfect shot; it’s also about giving yourself a variety of options to work with in post-production.
In my opinion, the magic of bracketing lies in its power to handle unpredictable lighting and focus scenarios. Say you’re shooting a sunset – the colors and contrasts can change in seconds.
Bracketing lets you capture the same scene at different settings, ensuring at least one photo comes out just right.
If you want to appreciate the full potential of bracketing, let’s take a quick look back. It has evolved tremendously with technology, from a time when photographers juggled with multiple film exposures, to today’s digital age where we can auto-bracket with a few clicks.
The constant, however, has been the pursuit of the perfect exposure or focus for the ultimate shot.
Now, don’t worry too much if this sounds complicated. You can always adjust your approach down the road. The goal is to choose something that resonates with you and that suits the scene in front of your lens.
A lot is happening very quickly in camera technology, making bracketing an accessible tool for anyone who’s game to explore the possibilities.
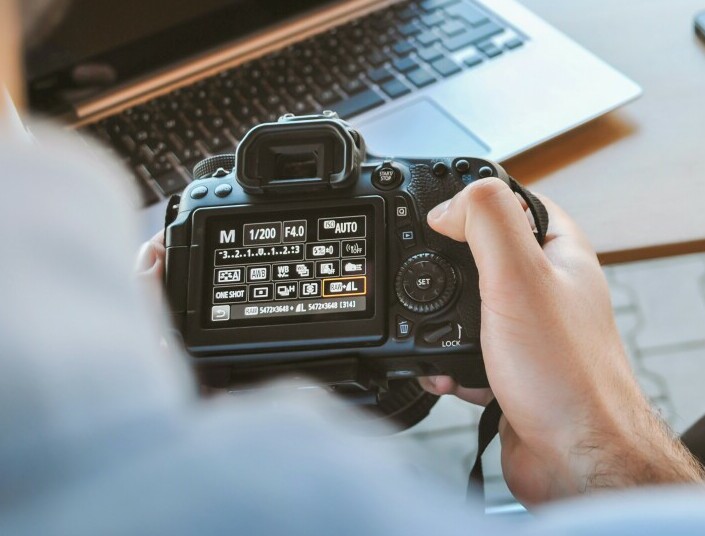
The Technical Know-How: Setting Up Your Camera for Bracketing
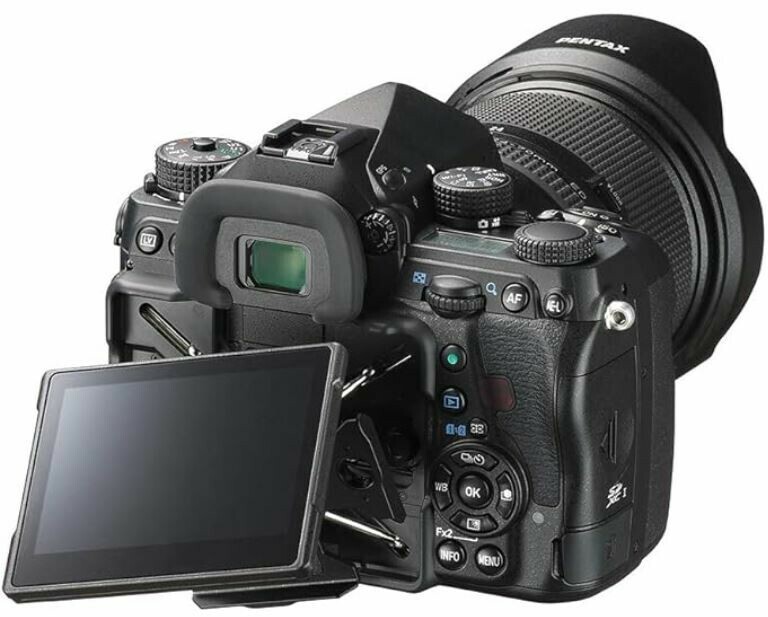
I’m going to guide you through the setup process for bracketing on different camera models. You see, bracketing isn’t a one-size-fits-all feature; it can vary depending on the make and model of your camera. For most DSLRs and mirrorless cameras, you’ll find bracketing settings in the menu system, often labeled as ‘AEB’ (Auto Exposure Bracketing) or simply ‘Bracketing.’
Now, understanding camera metering is crucial when you’re dealing with bracketing. Your camera measures the light in the scene and decides what it thinks is the correct exposure.
Bracketing allows you to capture multiple shots at different exposures based on this meter reading. If your camera’s metered exposure is the baseline, bracketing captures additional photographs over and under this value.
Are you toting around a manual camera? Don’t worry too much about the technical complexity. You can always adjust your approach down the road with practice. For those with automatic bracketing functions, it’s a walk in the park.
You’ll set the increment of exposure difference between shots, usually measured in stops, and the number of photos. The camera will then automatically take several photos, each with a different exposure value.
That’s the strategy I like to leverage to ensure I’ve captured the full dynamic range of a scene. I really hope that you find these techniques helpful. Next, we’ll jump into how to apply these bracketed exposures in various lighting conditions and photography styles.
The Art of Multiple Exposures: Tips and Techniques
Bracketing isn’t just about nailing the correct exposure; it’s also a gateway into the realm of artistic expression, especially when you’re faced with uncooperative lighting.
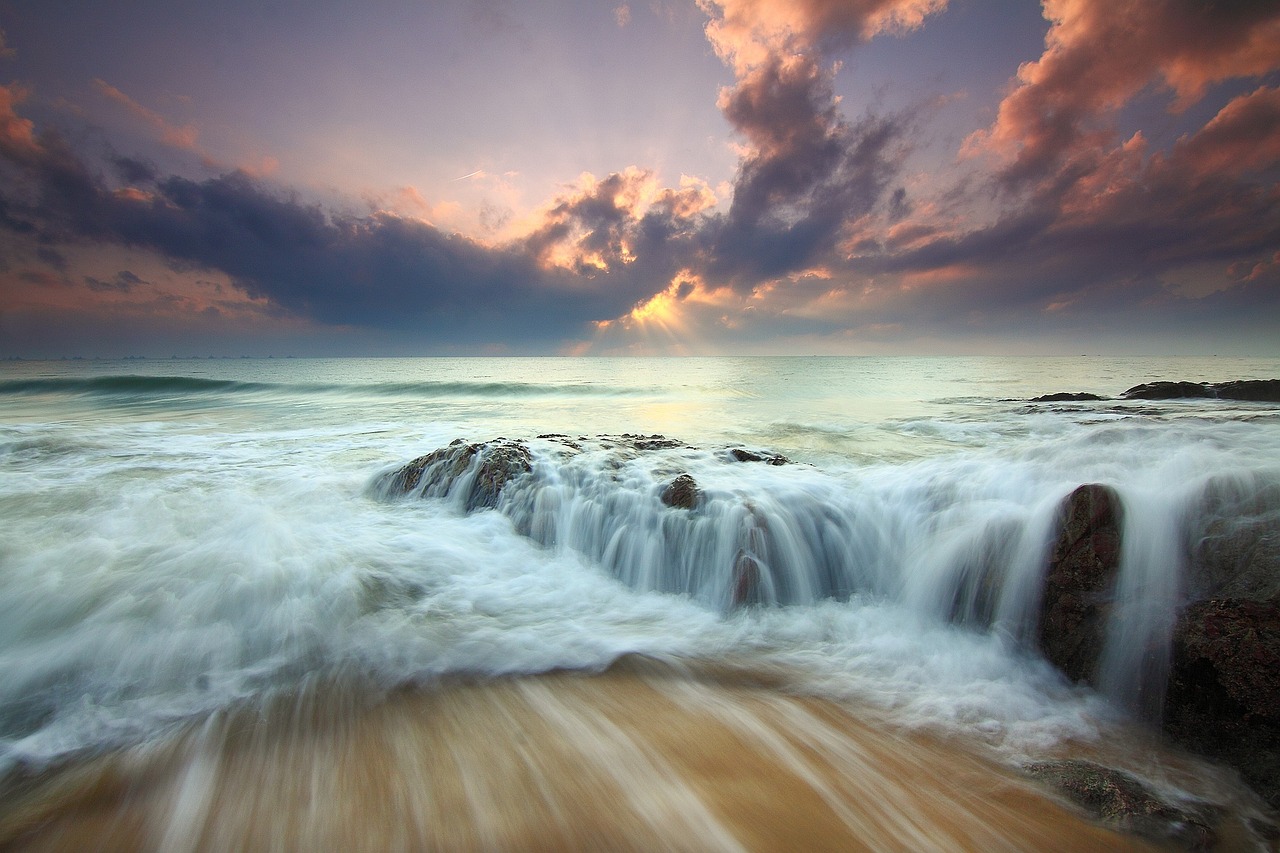
Imagine you’re capturing the sunset, and the sky is stunning, but the foreground is shrouded in shadows. Bracketing allows you to capture the full dynamic range of this scene, blending exposures later to achieve a balanced image that’s rich in detail.
For those of you venturing into landscape photography or high dynamic range (HDR) imaging, bracketing is your best friend. HDR photography, in particular, involves combining multiple exposures to create a single image with a greater dynamic range than your camera could capture in one shot.
The trick here is consistency; use a tripod to ensure your camera doesn’t move between shots and set your camera to Aperture Priority mode to keep the depth of field consistent.
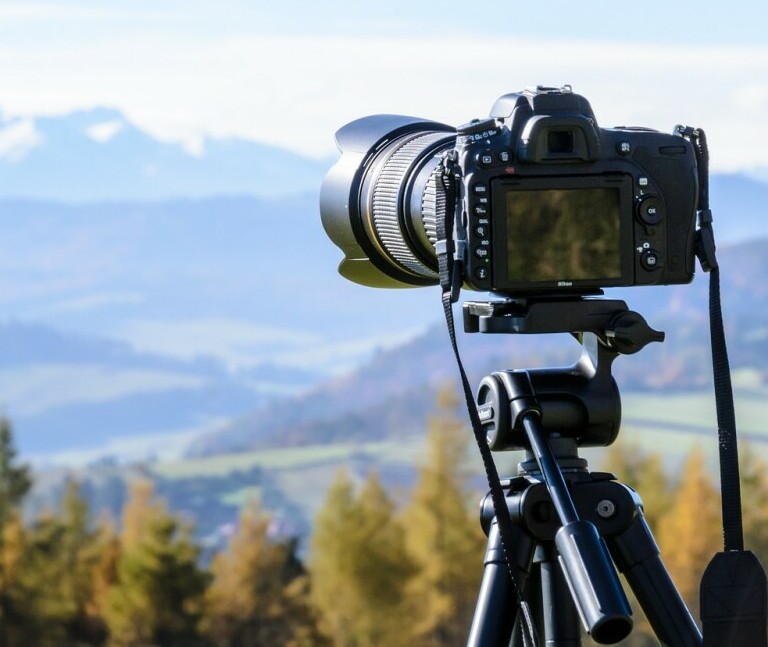
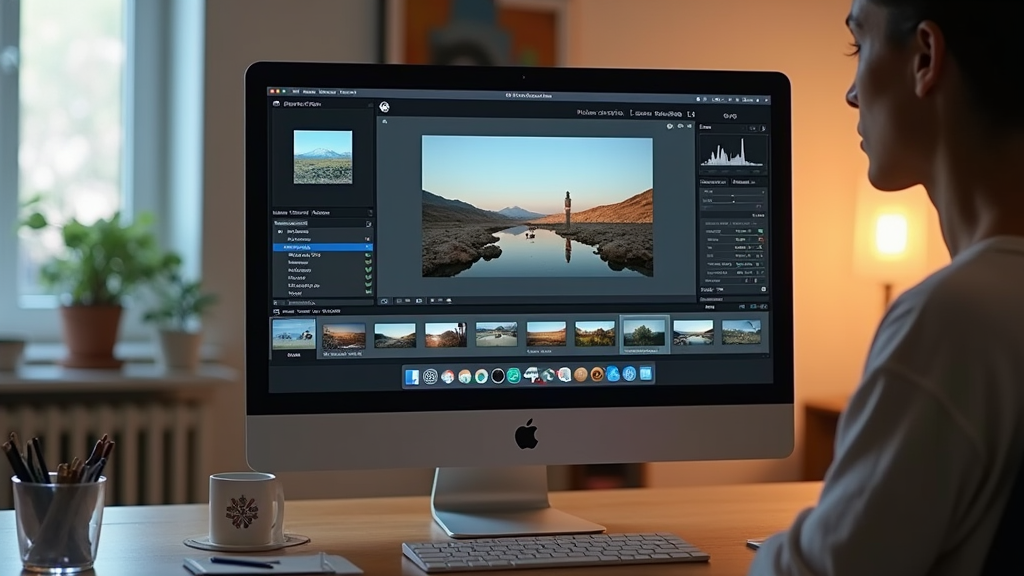
Post-processing is where the real magic happens. Software like Adobe Lightroom or Photomatix can merge your bracketed exposures into a seamless photo with the perfect balance of shadows, midtones, and highlights.
This isn’t about replacing the reality of what you saw, but enhancing it to reflect the scene as you experienced it. And remember, while software is powerful, it’s not a cure-all. Aim to get as much right in-camera as you can.
As you transition from section 3 to section 4, you’re going to find out about advanced bracketing strategies that professionals use to elevate their imagery.
We’ll talk more about the world of focus stacking to achieve sharpness across all planes of your macro or landscape shots and discuss how bracketing can synergize with various filters for sublime in-camera effects.
Furthermore, insights from seasoned photographers will shed light on how bracketing fits into their everyday professional workflow.
Whether you’re a novice looking to explore or a practiced shooter aiming to refine your technique, upping your bracketing game can dramatically enhance the quality and impact of your photographs.
Going Beyond: Mastering Bracketing for Exceptional Images
If you’ve been working with bracketing, you know it’s not just about capturing the correct exposure; it’s about pushing your photography to new heights.
As we’ve seen, bracketing is a powerful tool that extends well beyond basic exposure adjustments. It’s about mastering control over your images and ensuring that every detail shines through as you envisioned.
Advanced photographers often lean into focus stacking, which is a type of bracketing that involves taking multiple photos with different focus points and combining them for incredible depth of field.
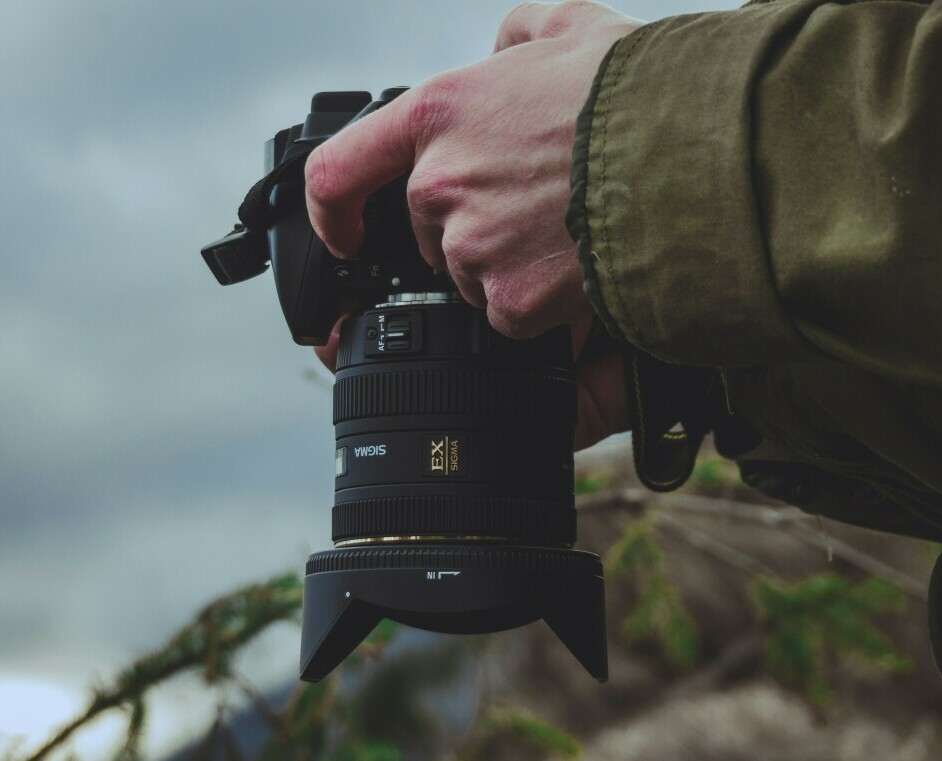
Whether it’s a close-up of a flower with stunning detail from the nearest petal to the farthest, or a vast landscape where every layer is in crisp focus, focus stacking can bring a new level of professionalism to your work.
Incorporating bracketing with the use of filters can yield distinctive in-camera effects that stand out. Graduated ND filters, for example, when combined with bracketing, can balance out the sky and land exposure effortlessly, giving you a great starting point to produce that awe-inspiring final image.
You can always adjust your approach down the road, but it’s inspiring to see how professionals adapt bracketing to their specific style and workflow.
From the staggering complexity of capturing stars in the night sky to the subtleties of architectural photography, bracketing remains an essential part of the professional toolbox.
I hope that this exploration of bracketing has ignited a curiosity to delve deeper into what your camera can do. As you continue to experiment with bracketing and refine your skills, remember that perfection isn’t the goal—growth is.
Embrace the journey, choose techniques that resonate with you, and watch as your images transform into something even more impactful. Happy shooting!

I have recently purchased a camera and I am always on the look out for tip and tricks!
As an amateur photographer, the information that you have provided giving practical tips has helped me alot.
Its great to see that the knowledge is being shared for those who want to learn this stuff on the side!
I was wondering if you can assist in pointing me in the right direction on some entry-level cameras or software options that support bracketing?
I would love to return to read an article on how can beginners approach this technique to enhance their photography skills?
Hi Clair, thank you for your response. It’s always good to hear of other people who share the same passion for photography! To answer your question, I have several other articles that can really help you enhance your photography skills. And is there a type of camera that you are interested in? It’s the camera setting itself that offers bracketing.