
Adobe Lightroom has become a favorite among photo enthusiasts and beginners alike. This guide walks you through the essentials of Adobe Lightroom, helping you understand how to edit photos in a straightforward, step-by-step manner. If you’re new to photo editing, this guide is designed just for you.
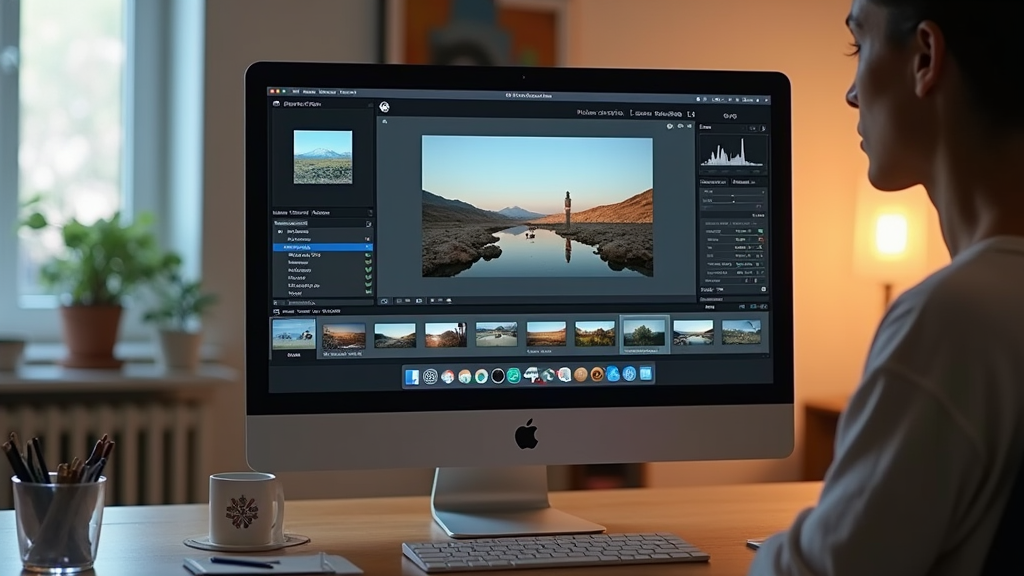
You might feel overwhelmed when you first open Lightroom, staring at multiple panels and a sea of editing tools. I remember my first encounter. It looked like a puzzle without the picture on the box. But with a bit of guidance, you can quickly master the basics and even explore some advanced techniques.
This guide covers everything from setting up your workspace to exporting your final image. Each step is broken down into clear instructions to build your confidence and skills. By the end of this guide, you’ll know how to step up your photos and create consistent, professional-looking edits.

Step 1: Set Up Your Adobe Lightroom Environment
Before jumping into editing, it is important to set up your environment so you can work efficiently. This involves not only installing the software but also configuring your workspace in a way that boosts your productivity.
Initial Setup Tips:
- Install the latest version of Adobe Lightroom.
- Update your computer’s graphics drivers for smooth performance.
- Customize your workspace layout based on your editing needs.
- Ensure that your monitor is calibrated properly for accurate color displays.
Once your environment is ready, you can focus on learning how the tool works rather than struggling with technical issues. A well-organized workspace makes every subsequent step more intuitive and enjoyable.
Step 2: Familiarize Yourself with the Interface and Tools
Adobe Lightroom’s interface might seem daunting when you first open it. However, most of its tools are organized into a logical workspace that makes editing smoother as you get accustomed to them.
Main Components of the Interface:
- The Library Module: This is where you import and organize your photos. You can rate, flag, and group your images for easy access.
- The Develop Module: Here is where the actual editing magic happens. You have sliders, adjustment tools, and presets at your disposal.
- The Map, Book, Slideshow, and Print Modules: These tools assist with location tagging, designing photo books, creating slideshows, and printing your photos.
Spend some time moving through the different modules. Don’t worry if you wouldn’t remember every tool initially; with practice, everything becomes more familiar and comfortable.
Step 3: Organize and Import Your Photos
Before any editing, your photos need to be imported into Lightroom. This step ensures that your images are safely stored and efficiently organized for future editing sessions.
Organizing Imported Photos:
- Create folders and collections for different projects or events.
- Use keywords and metadata to make searching easier.
- Rate or flag your photos so that the best ones are easy to find.
When you import your images, consider applying presets that add metadata. This can help streamline your workflow in the future, especially if you work with a large volume of photos.

Step 4: Explore Basic Editing Techniques
Now it’s time to roll up your sleeves and start editing. Beginning with the basics helps you gradually build understanding. Lightroom’s Develop Module offers essential tools like exposure, contrast, and white balance adjustment that serve as the foundation of any good edit.
Key Tools to Get Started:
- Exposure and Contrast: Adjust these first to set the overall lightness and dynamic range of your photo.
- White Balance: Correct color tones to ensure your image looks natural.
- Highlights and Shadows: Fine tune these elements to boost details in bright and dark areas.
- Clarity and Vibrance: Step up textures and color intensity in your image subtly.
Work on one adjustment at a time. Start by setting the correct exposure and then gradually adjust other settings. This incremental approach will help you understand how each tool influences your final image.
Step 5: Jump into Advanced Editing Tools
Once you’re comfortable with basic edits, you can start exploring advanced tools. These features allow you to make precise adjustments and add creative flair to your photos.
Some Advanced Techniques Include:
- Graduated and Radial Filters: These tools help you target specific areas of your photo for selective editing.
- The Adjustment Brush: Use it to retouch or modify particular parts of your image with fine control.
- Color Curve Adjustments: Modify the tonal range and create custom looks with detailed control over shadows and highlights.
- Noise Reduction and Sharpening: Step up the overall quality without over-processing the image.
Spend time experimenting with these tools on several photos. Practice and patience will build your confidence in making more detailed edits. Remember, small changes make a big difference in the final quality of the image.
Step 6: Use Presets and Streamline Your Workflow
Presets can save time by applying a predetermined set of adjustments to your photos. They are especially useful if you are editing a large number of images or want a consistent look across your work.
How to Effectively Use Presets:
- Explore built-in presets that come with Lightroom. These can give you insight into what adjustments are commonly used.
- Create your own presets once you find a style you like. This customization helps speed up your editing process.
- Apply presets as a starting point and fine-tune each photo if necessary. Every image is unique, so adjustments may still be needed.
- Organize your presets in folders categorized by style or usage, making it easier to find the right one when you need it.
A well-managed workflow not only reduces time but also helps maintain consistency across your edits. By using presets alongside manual refinements, you can achieve a professional look without spending too much time on each photo.

Step 7: Export and Share Your Edited Photos
After spending time perfecting your edits, the final step is exporting and sharing your photos. Adobe Lightroom makes it easy to adjust export settings to match your destination, whether it’s for social media, printing, or archiving.
Exporting Techniques for Best Results:
- Choose the right file format: JPEG works well for web sharing, while TIFF is preferred for high-quality prints.
- Adjust resolution and size based on your needs. Ensure that your photos are optimized for the platform they are going to be viewed on.
- Apply watermarks if necessary. A subtle watermark can help protect your work without distracting from the image quality.
- Save export settings as a preset so that you can quickly apply the same configuration for future exports.
Sharing your photos online has never been easier. Whether you use social media platforms, photography websites, or your own blog, you now have the tools to make a lasting impression with your edits.
Extra Tips and Tricks for Adobe Lightroom
As you progress with Adobe Lightroom, it’s very important to keep experimenting and learning new approaches. Take some time to review online tutorials and forums where other enthusiasts share their experiences.
Reading about real-world editing challenges and solutions can give you a sense of practical tips that help smooth the way. Try different combinations of settings on a single photo and note how subtle adjustments can turn an ordinary image into something that truly stands out.

Enjoy the process of mixing in creative ideas, and don’t hesitate to break down complex tasks into simpler, manageable chunks. Continuous practice with a variety of photos will not only develop your style but also improve your speed and decision-making when editing. Remember, every expert was once a beginner, so keep your passion alive by regularly checking in and trying new techniques.
Final Thoughts & Next Steps
Adobe Lightroom Photo Editing is a journey of stumbling upon new techniques and evolving your style. From setting up your environment to exporting your final image, every step helps you grow more confident in your editing skills. The process is all about experimenting, learning from minor mistakes, and slowly building a workflow that suits your style.
Your Action Plan
- Start by setting up your Lightroom workspace and familiarize yourself with the Library and Develop Modules.
- Import a small batch of photos and apply basic adjustments like exposure and white balance.
- Experiment with one advanced tool at a time, such as the Adjustment Brush or graduated filter.
- Create a custom preset from your favorite adjustments to speed up future edits.
- Export one of your edits using optimized settings and share it on a platform where you can receive feedback.
The more you practice, the easier each step will become. What feature of Adobe Lightroom excites you the most? Get involved with the process and see your editing skills flourish over time.


Hello Randi!
This guide is such a fantastic resource for beginners looking to get started with Adobe Lightroom! Photo editing can feel overwhelming at first but breaking it down step by step makes it much more approachable. I can imagine struggling with exposure adjustments early on, but once you get the hang of it, the photos would improve dramatically.
Do you have any favorite presets or editing tricks that you swear by? I’d love to hear more about how others fine-tune their images for that perfect look! 📸✨
Angela M 🙂
Hey! Thanks so much for the kind words. I’m glad you found the guide helpful! 😊 Totally agree, Lightroom can seem intimidating at first, but once you get comfortable with the basics like exposure, it’s a lot easier to work with.
As for presets, I love experimenting with soft tones for portraits and vibrant contrasts for landscapes. It makes the colors pop without overdoing it! One trick I swear by is using the tone curve for subtle adjustments; it really helps to fine-tune the mood of a photo.
How about you? Have you found any go-to styles you’re loving lately? Would love to hear what’s been working for you!